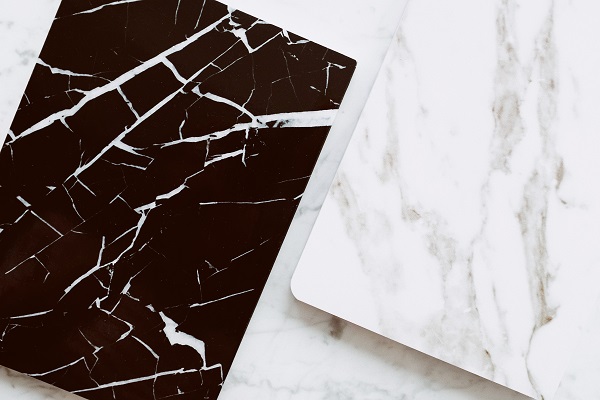
Wall tiles can be a stunning addition to your home's interior, but their true beauty shines when they are installed correctly. Whether you're planning to create a charming kitchen backsplash, a spa-like bathroom retreat, or an accent wall in your living room, understanding how to properly install wall tiles is essential. In this step-by-step guide, we'll walk you through the process to ensure a successful and aesthetically pleasing tile installation.
Step 1: Gather Your Tools and Materials
Before you start your tiling project, make sure you have the necessary tools and materials on hand. These typically include:
- Wall tiles of your choice
- Tile adhesive or thinset mortar
- Tile spacers
- Tile cutter or wet saw
- Trowel
- Level
- Measuring tape
- Pencil
- Notched trowel
- Grout
- Grout float
- Sponge
- Buckets for mixing and cleaning
Step 2: Prepare the Surface
The key to a successful tile installation is a clean and even surface. Ensure your wall is dry, clean, and free from any dust, grease, or debris. Repair any cracks or imperfections, and if needed, apply a backer board to create a suitable substrate for the tiles.
Step 3: Plan Your Layout
Determine where you want to start tiling and establish a reference point. It's crucial to have a level and straight starting line, typically near the centre of your project area. Use a level and pencil to mark your starting point.
Step 4: Apply the Adhesive
Using a notched trowel, spread a layer of tile adhesive or thinset mortar over a small area, starting from your reference point. The size of the area you cover will depend on your tiling speed and the recommended setting time for the adhesive.
Step 5: Set the Tiles
Place the tiles onto the adhesive, starting at your reference point. Press each tile firmly into place, using tile spacers to maintain even gaps between tiles. Continue this process, working in small sections, until you've covered the entire area.
Step 6: Cut Tiles as Needed
As you approach the edges and corners of the wall, you may need to cut tiles to fit. Measure and mark the tiles, then use a tile cutter or wet saw to make precise cuts. Ensure a proper fit and spacing between cut tiles.
Step 7: Allow the Adhesive to Cure
Give the adhesive ample time to cure. The curing time will depend on the type of adhesive you're using, so follow the manufacturer's recommendations.
Step 8: Apply Grout
Mix the grout according to the manufacturer's instructions, and use a grout float to fill the gaps between the tiles. Work the grout into the spaces at a 45-degree angle to ensure proper coverage. Wipe away excess grout with a damp sponge, being careful not to remove too much grout from the gaps.
Step 9: Clean and Seal
Once the grout has dried, use a clean, damp sponge to remove any remaining grout haze from the tiles. After the grout has fully cured, consider applying a grout sealer to protect and prolong the life of your tile installation.
Step 10: Enjoy Your Beautiful Wall Tiles
With the grout set and sealed, step back and admire your newly tiled wall. The proper installation of wall tiles can not only enhance the aesthetics of your space but also ensure that they stand the test of time.
Remember that while tiling can be a rewarding DIY project, it may also be a good idea to consult a professional if you're unsure about any step in the process. Well-installed wall tiles can elevate the look and feel of your home, so take your time, be patient, and enjoy the transformation.