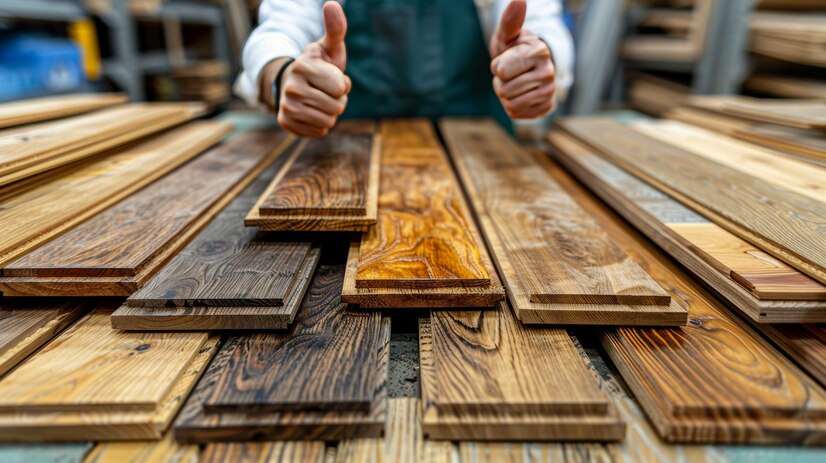
A beautiful wood table can be the centerpiece of your home, offering both functionality and charm. However, over time, daily use, spills, and general wear can dull its appearance, leaving you wondering how to bring it back to life. Fortunately, with the right care and products, you can easily clean and restore your wood table to its former glory. In this blog, we’ll explore how to effectively use a wood table cleaner, wood restore oil, and the right wood finish to revive and protect your cherished furniture.
Step 1: Clean Your Wood Table
Before you begin the restoration process, it’s essential to clean your wood table thoroughly. This removes dirt, dust, grime, and any sticky residue that may have accumulated over time.
Choosing the Right Wood Table Cleaner When selecting a cleaner, avoid harsh chemicals that can damage the finish or dry out the wood. Instead, opt for a gentle wood table cleaner that’s specifically formulated for wooden surfaces. Look for products that are non-toxic and residue-free, as these will effectively clean without leaving behind unwanted buildup.
How to Clean Your Wood Table
- Dust the surface: Start by dusting the table with a soft, microfiber cloth to remove loose dirt and particles.
- Apply the cleaner: Spray or apply the wood table cleaner onto the surface, following the manufacturer’s instructions.
- Wipe gently: Using a clean, soft cloth, wipe down the table in the direction of the grain to avoid scratches.
- Dry the surface: Make sure the table is completely dry before moving on to the next step.
Step 2: Restore Your Wood Table with Wood Restore Oil
Once your table is clean, it’s time to address any dryness, scratches, or dull spots. This is where wood restore oil comes in. Wood oils penetrate deep into the fibers of the wood, nourishing it and bringing back its natural shine. These oils also help prevent the wood from cracking, drying out, or fading over time.
Choosing the Best Wood Restore Oil There are different types of oils available for wood restoration, including linseed oil, tung oil, and Odie’s Oil. Each offers unique benefits, but all serve the purpose of nourishing and revitalizing wood surfaces. Look for a high-quality wood restore oil that matches the type of wood your table is made from.
How to Apply Wood Restore Oil
- Test in an inconspicuous area: Before applying the oil to the entire table, test it on a small, hidden section to ensure it won’t affect the color.
- Apply the oil: Use a soft, lint-free cloth to apply a thin, even layer of wood restore oil. Work it into the wood in the direction of the grain.
- Let it soak: Allow the oil to penetrate the wood for the recommended time — usually 10 to 15 minutes.
- Wipe off excess: After the oil has absorbed, wipe off any excess with a clean cloth to avoid a sticky residue.
- Repeat if necessary: For older, more worn-out tables, you may need to apply multiple coats of oil.
Step 3: Protect and Enhance with a Wood Finish
After restoring the natural beauty of your wood table with oil, applying a wood finish is the final step to ensure long-lasting protection. A good finish seals the wood, protecting it from moisture, spills, and everyday wear.
Choosing the Right Wood Finish The type of finish you choose depends on the look and level of protection you desire. There are several options, including wax finishes, polyurethane, and varnish. If you prefer a natural, matte look, wood wax oil is a fantastic choice. It provides a durable finish while enhancing the wood’s natural grain.
How to Apply Wood Finish
- Apply in thin layers: Use a soft cloth or brush to apply the finish in thin, even coats.
- Buff for shine: Once the finish dries, buff the surface with a clean cloth to achieve a smooth, polished look.
- Allow to cure: Depending on the finish type, give it ample time to cure fully before placing any objects back on the table.
Cleaning and restoring your wood table doesn’t have to be a daunting task. By using a gentle wood table cleaner, nourishing wood restore oil, and applying a protective wood finish, you can keep your table looking beautiful for years to come. Taking these steps will not only revitalize its appearance but also preserve its durability, ensuring it remains a centerpiece in your home for generations.