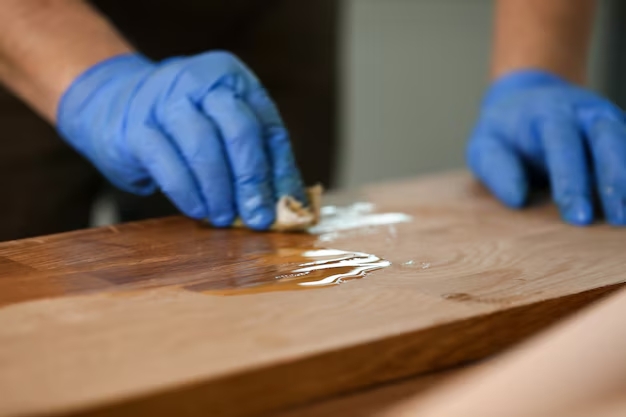
A woodworking wax finish is one of the best ways to bring out the natural beauty of wood while providing long-lasting protection. Whether you're working on a new project or restoring an old piece of furniture, applying a wax finish can give the wood a smooth, rich sheen that enhances its grain and character. For a more luxurious finish, wood butter—a thicker, creamier wax blend—offers extra nourishment for the wood, providing both protection and a soft, velvety look.
Here’s a step-by-step guide to help you apply a woodworking wax finish for a flawless and durable result.
Step 1: Prepare the Wood Surface
Before applying any wax, it’s important to prepare the surface of the wood properly. Start by sanding the wood to remove any rough spots, scratches, or imperfections. Use progressively finer grit sandpaper (starting with 120 and ending with 220 or higher) to achieve a smooth surface. Be sure to sand in the direction of the grain to avoid leaving marks.
Once the sanding is complete, wipe the wood with a clean, dry cloth to remove any dust or debris. The surface should be smooth, clean, and free of any residues before applying the wax.
Step 2: Choose Your Wax Finish
There are different types of woodworking wax finishes available, each offering a unique look. A standard woodworking wax finish provides a glossy sheen and light protection, ideal for indoor furniture and decorative pieces. Wood butter, on the other hand, is a thicker, more nourishing wax that penetrates deeply into the wood fibers, making it perfect for surfaces that require extra durability, such as tabletops or cutting boards.
Choose the product that best suits your project based on the level of protection and the appearance you desire.
Step 3: Apply the Wax Finish
Once your wood surface is prepared, it's time to apply the wax. Using a soft, lint-free cloth or wax applicator pad, scoop a small amount of the wax and rub it into the wood in circular motions. Focus on covering the entire surface evenly and working the wax into the grain of the wood.
For wood butter, the process is the same but requires a little more effort due to its thicker consistency. Be patient, as it takes time to properly spread the butter and achieve a smooth finish.
Step 4: Buff the Surface
After applying the wax or wood butter, allow it to sit for about 15 to 30 minutes, depending on the product instructions. This gives the wax time to penetrate and bond with the wood. Once it has absorbed, use a clean, soft cloth to buff the surface in circular motions. Buffing helps to remove any excess wax and creates a smooth, shiny finish.
Step 5: Reapply as Needed
For a deeper, more durable finish, consider applying a second or third coat of wax. After each application, allow the wax to sit for 30 minutes and buff again. Multiple layers will provide extra protection and a more polished look.
Applying a woodworking wax finish or wood butter is an easy yet effective way to protect and enhance your wood projects. With proper surface preparation and careful application, you’ll achieve a long-lasting, natural-looking finish that will keep your wood surfaces looking beautiful for years to come.