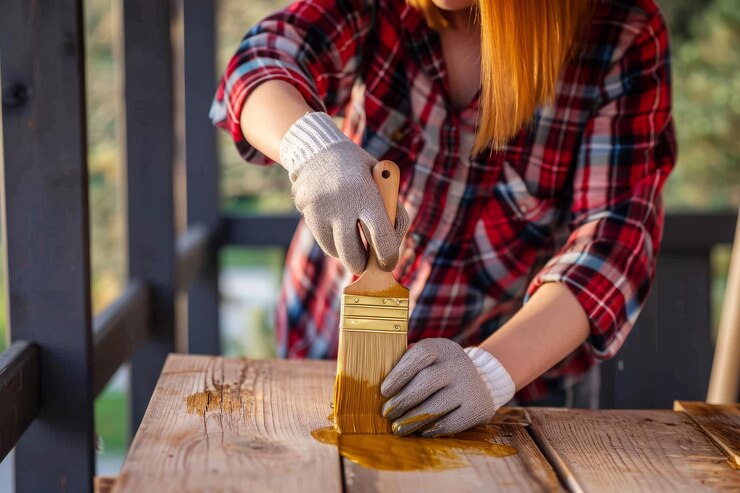
Applying exterior oil for wood is a crucial step in maintaining the beauty and longevity of your outdoor furniture, decks, and other wooden structures. Unlike traditional paints or stains, wood oil penetrates deeply into the wood, providing protection against moisture, UV rays, and temperature fluctuations. This guide will walk you through the process of applying exterior oil, ensuring a beautiful finish that enhances the natural grain of the wood.
Why Choose Exterior Oil for Wood?
Exterior oil for wood serves multiple purposes. It protects the wood from harsh weather conditions, enhances its natural color, and allows it to breathe, preventing moisture buildup. Unlike a wood wax finish, which primarily provides a protective layer on the surface, wood oil penetrates the wood fibers, offering deeper protection. This results in a more resilient and longer-lasting finish that requires less frequent maintenance.
Materials You Will Need:
Before starting the application process, gather the following materials:
- High-quality exterior wood oil
- Clean, lint-free cloths or rags
- A clean paintbrush or applicator
- Sandpaper (120 and 220 grit)
- A vacuum or brush for dust removal
- Protective gloves
- A drop cloth or tarp
Step-by-Step Application Process
Step 1: Preparation
- Select a Dry Day: Choose a day with mild temperatures and low humidity to apply the oil. Avoid direct sunlight, which can cause the oil to dry too quickly.
- Clean the Surface: Ensure the wood surface is clean and free of dirt, dust, and debris. Use a vacuum or a soft brush to remove any particles that could interfere with the application.
- Sand the Wood: If the wood surface is rough or has an old finish, lightly sand it with 120-grit sandpaper. This will help the oil penetrate better. Follow up with 220-grit sandpaper for a smooth finish. Wipe away any dust with a clean cloth.
Step 2: Test the Oil
Before applying the oil to the entire surface, it’s wise to do a test patch in an inconspicuous area. This will allow you to see how the wood absorbs the oil and what the final color will look like. Allow the test patch to dry completely before proceeding.
Step 3: Apply the Exterior Oil
- Put on Gloves: To protect your hands from the oil, wear protective gloves.
- Pour the Oil: Pour a small amount of exterior wood oil into a container or directly onto the wood surface.
- Use a Brush or Cloth: Using a clean paintbrush or cloth, apply the oil in the direction of the wood grain. Ensure even coverage by working in sections and avoiding excess pooling.
- Let It Soak: Allow the oil to soak into the wood for about 15 to 30 minutes. This soaking time allows the wood to absorb the oil effectively.
- Wipe Off Excess: After the soaking period, use a clean cloth to wipe off any excess oil from the surface. This helps prevent a sticky residue and ensures an even finish.
Step 4: Drying and Curing
Allow the oil to dry completely, following the manufacturer’s recommendations. This typically takes 24 hours, but it can vary based on the specific product and environmental conditions.
Step 5: Apply Additional Coats (If Necessary)
For maximum protection, you may want to apply a second coat of oil after the first one has dried. Repeat the application process, ensuring you wipe off any excess oil after soaking.
Finishing Touches
Once the final coat has dried, you can enhance the wood’s durability with a wood wax finish if desired. Wax can provide an additional layer of protection and a soft sheen to the surface, enhancing the overall appearance of your wood.
Applying exterior oil for wood is a straightforward process that significantly enhances the durability and aesthetic appeal of your outdoor wooden surfaces. By following this step-by-step guide, you’ll ensure your wood is protected against the elements while showcasing its natural beauty. Regular maintenance and reapplication of oil will keep your wooden structures looking their best for years to come.