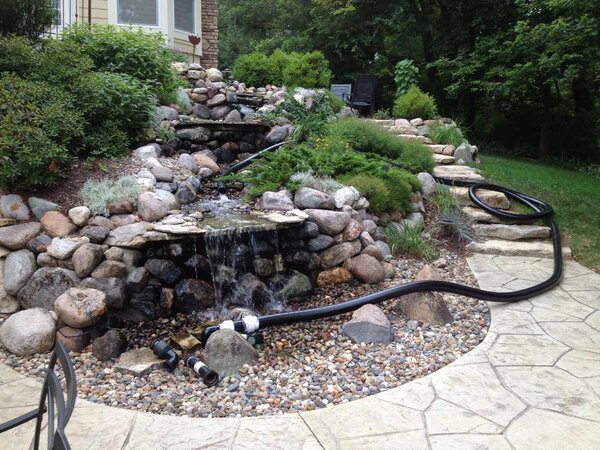
Pond liners are the backbone of any water feature, ensuring that your oasis stays intact and functional. However, despite their durability, wear and tear are inevitable over time. From small punctures to significant tears, a damaged pond liner can wreak havoc on your tranquil retreat. But fear not! In this comprehensive guide, we'll delve into the intricacies of fixing and patching pond liners, empowering you to rejuvenate your aquatic haven with ease.
Understanding Pond Liners
Before diving into repair techniques, let's grasp the fundamentals. Pond liners serve as a barrier between the water and surrounding soil, preventing leakage and maintaining water levels. They come in various materials such as EPDM, PVC, and rubber, each with its unique advantages and drawbacks.
Identifying Common Issues
Spotting trouble early is key to preventing further damage. Common issues include punctures from sharp objects, tears caused by shifting soil, and degradation due to UV exposure. Regular inspections can help catch these problems before they escalate.
Assessing the Damage
Once you've identified an issue, it's crucial to assess the extent of the damage. Is it a minor puncture or a gaping tear? Understanding the severity will dictate the appropriate course of action.
Tools of the Trade
Equipping yourself with the right tools is half the battle. For patching small holes, you'll need items like pond liner patch kits, scissors, and a cleaning brush. Larger tears may require heavier artillery such as adhesive sealant and patching material.
Preparing the Surface
Before applying any patches, ensure the affected area is clean and dry. Use a mild detergent and a brush to remove debris and algae, allowing the patch to adhere properly. For stubborn stains, a pressure washer can work wonders.
Patching Small Holes
Small punctures are a breeze to fix with the right approach. Cut a piece of patching pond liner material slightly larger than the hole and apply adhesive sealant to both the patch and the surrounding area. Press firmly and allow ample time for drying.
Tackling Larger Tears
Larger tears require a bit more finesse. Begin by trimming any jagged edges to create a clean surface. Next, apply a generous amount of adhesive sealant along the tear and firmly press the patch into place. For added reinforcement, overlay multiple patches in a crisscross pattern.
Reinforcing Weak Seams
Weak seams are a common weak point in pond liners, especially in older installations. To reinforce these areas, apply an extra layer of patching material along the seam, ensuring a watertight seal.
Preventative Maintenance
An ounce of prevention is worth a pound of cure. Regularly inspect your pond liner for signs of wear and address any issues promptly. Additionally, consider installing protective measures such as underlayment or rock barriers to minimize the risk of damage.
Conclusion
In conclusion, maintaining a pristine pond liner is vital for preserving the beauty and functionality of your water feature. By understanding the nuances of fixing and patching pond liners, you can safeguard your oasis for years to come. Remember to stay vigilant, invest in quality materials, and tackle issues head-on to ensure your aquatic haven remains a source of joy and tranquility.
With these expert tips and techniques at your disposal, you're well-equipped to tackle any pond liner woes that come your way. So roll up your sleeves, grab your toolkit, and let's get patching!