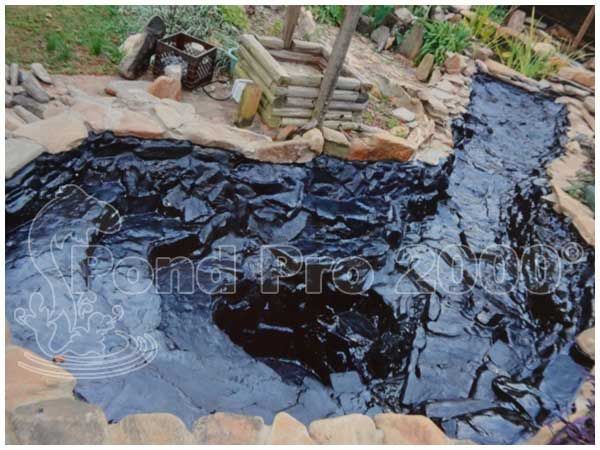
Having a backyard pond can be a source of immense joy and tranquility. However, when your pond liner develops a leak or tear, it can quickly turn into a headache. Fortunately, repairing a pond liner is a manageable task, especially if you have the right guidance. In this comprehensive guide, we'll walk you through the step-by-step process of fixing a pond liner, ensuring your aquatic oasis stays intact for years to come.
Understanding Pond Liners
Before delving into the repair process, it's essential to understand the types of pond liners available. Pond liners serve as a barrier between the water and the surrounding soil, preventing leaks and maintaining the structural integrity of the pond. The two primary types of pond liners are EPDM rubber liners and PVC liners. EPDM liners are durable and flexible, while PVC liners are more affordable but may degrade over time.
Identifying Pond Liner Damage
The first step in fix pond liner is identifying the source of the problem. Common causes of pond liner damage include punctures from sharp objects, age-related deterioration, and shifts in the ground beneath the pond. Signs of a damaged pond liner include water loss, sinking edges, and exposed liner material.
Repairing Small Tears and Punctures
For small tears and punctures, follow these steps:
Clean the damaged area: Use a scrub brush, rubbing alcohol, and a clean cloth to thoroughly clean the damaged area of the pond liner.
Cut a patch: Using a utility knife, cut a patch from the pond liner patch kit that is slightly larger than the damaged area.
Apply adhesive: Apply adhesive from the patch kit to both the patch and the damaged area of the pond liner. Press the patch firmly onto the damaged area and smooth out any air bubbles.
Allow the adhesive to cure: Follow the manufacturer's instructions for curing time to ensure a proper seal.
Repairing Larger Tears and Leaks
For larger tears and leaks, follow these steps:
Trim the damaged area: Use a utility knife to trim away any jagged edges around the tear, creating a smooth, clean surface for the patch.
Apply primer: If you're working with a PVC liner, apply PVC primer to the trimmed area and allow it to dry completely.
Apply adhesive: Apply adhesive from the patch kit to both the patch and the trimmed area of the pond liner. Press the patch firmly onto the liner and smooth out any wrinkles or air bubbles.
Seal the edges: Apply a bead of waterproof sealant around the edges of the patch to ensure a watertight seal.
Preventing Future Damage
Once you've repaired your pond liner, it's essential to take steps to prevent future damage. Avoid placing sharp objects near the pond, regularly inspect the liner for signs of wear and tear, and maintain proper water levels to prevent stress on the liner.
Conclusion
Repairing a damaged pond liner may seem like a daunting task, but with the right tools and guidance, it can be a straightforward DIY project. By following the steps outlined in this guide, you can ensure that your pond remains a beautiful and tranquil addition to your backyard for years to come. So roll up your sleeves, gather your supplies, and get ready to fix that pond liner like a pro!