When it comes to safeguarding your home, business, or industrial property, security cameras are one of the most effective tools at your disposal. With the ever-growing importance of security, it’s essential to ensure your surveillance system is installed correctly to provide optimal coverage. A well-installed security camera system can deter crime, improve safety, and give you peace of mind. Whether you're a homeowner looking to protect your family or a business owner wanting to safeguard your property, understanding how to install security cameras the right way is key to reaping the full benefits of this technology.
In this article, we’ll walk you through everything you need to know about installing security cameras, providing expert tips for success. With the right preparation, knowledge, and tools, you can ensure your cameras function at their best, offering top-notch security.
Why Security Camera Installation is Crucial
Before diving into the installation process, let’s first understand why installing security cameras is so important. Here are some of the key benefits:
- Deterrence of Crime: The sight of security cameras often discourages criminals from targeting your property. Visible cameras act as a deterrent against theft, vandalism, and break-ins.
- Provide Evidence: In the event of an incident, security cameras provide valuable evidence that can help identify criminals and protect your rights. Whether it’s a theft or a dispute, video footage can support your case.
- Remote Monitoring: Many modern security systems allow you to monitor your property remotely via your smartphone or computer, giving you real-time updates and control wherever you are.
- Peace of Mind: Whether you're at home or at work, knowing that your property is being monitored 24/7 offers peace of mind. It reduces stress and anxiety by allowing you to rest assured that your family, employees, or valuables are safe.
- Insurance Benefits: Insurance providers may offer discounts to policyholders who have security systems in place. Furthermore, security footage can help you file claims in case of damage or theft.
Step 1: Choose the Right Security Cameras for Your Needs
Before starting the installation, it's essential to choose the right security cameras based on your needs. Different cameras offer different features, and selecting the appropriate ones is crucial for achieving optimal coverage.
1.1 Types of Security Cameras
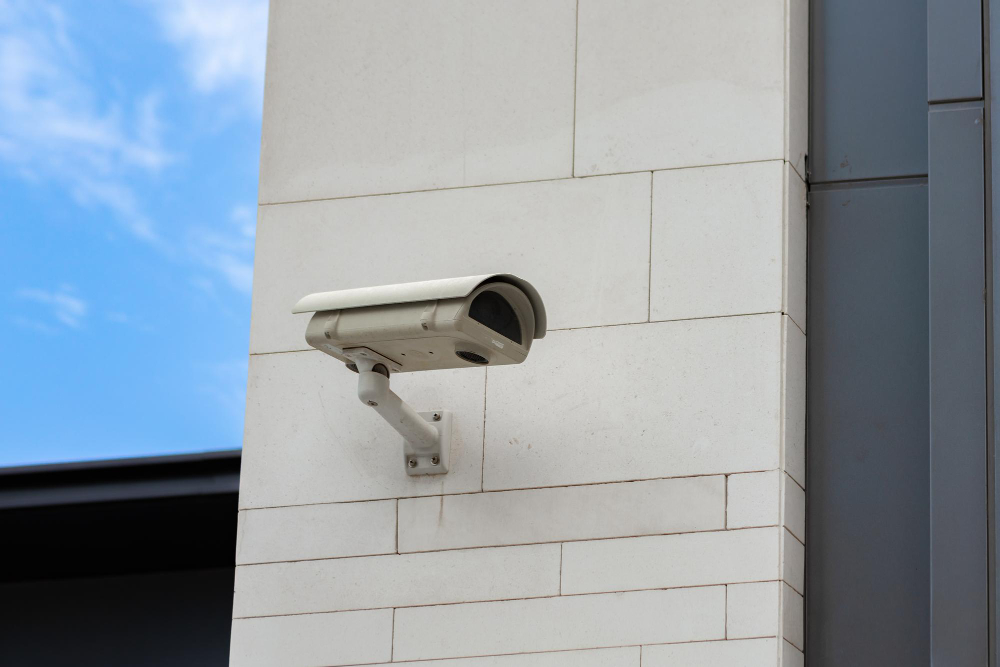
- Bullet Cameras: These are small, cylindrical cameras that typically offer long-range views. Bullet cameras are perfect for monitoring large outdoor areas such as parking lots, driveways, and building entrances. Their design makes them highly visible, which also acts as a deterrent to criminals.
- Dome Cameras: Dome cameras are compact, discreet, and offer 360-degree views. These cameras are often used indoors and are perfect for areas with high foot traffic, such as hallways or waiting rooms.
- PTZ (Pan-Tilt-Zoom) Cameras: PTZ cameras offer remote control, allowing you to adjust the camera’s direction and zoom in on specific areas. They are perfect for large properties or parking lots, where you need to monitor a broad area and zoom in on incidents.
- IP Cameras: IP (Internet Protocol) cameras are digital cameras that can be accessed remotely via the internet. These cameras offer high-definition video quality, making them ideal for homes and businesses that require superior video clarity.
- Wireless Cameras: Wireless cameras are easy to install and don’t require the hassle of running cables. They rely on Wi-Fi to transmit video footage to your smartphone or computer. However, wireless cameras require a stable internet connection to operate effectively.
- Hidden Cameras: If you need discreet surveillance, covert or hidden cameras blend seamlessly with your environment. These cameras are typically used for monitoring sensitive areas where visible cameras would be inappropriate.
1.2 Indoor vs. Outdoor Cameras
Depending on your property, you may need both indoor and outdoor cameras. Outdoor cameras need to be durable enough to withstand various weather conditions, including rain, snow, and extreme temperatures. Indoor cameras, on the other hand, are more compact and typically don’t need to be weatherproof.
Step 2: Plan Camera Placement
Proper camera placement is critical to ensure you achieve optimal coverage and avoid blind spots. Planning your security camera placement is a strategic step that directly impacts your surveillance system’s effectiveness. Here’s how to go about it:
2.1 Identifying Key Areas to Monitor
Consider areas that are most vulnerable or high-risk and place your cameras accordingly. Key spots include:
- Entrances: Ensure that all doors and windows are covered. This includes both front and back doors, as well as side windows.
- Driveways and Parking Areas: Install cameras to monitor vehicles and any access points to your property.
- Common Areas: For businesses, common areas like hallways, lobbies, and stairwells are critical to monitor. Similarly, for residential homes, you might want to cover areas such as living rooms or kitchens.
- Perimeter: Outdoor cameras should cover the perimeter of your property, including fences, gates, and other boundary markers.
2.2 Height and Angles
The placement of your cameras should be strategic to capture as much of the surrounding area as possible. Mount your cameras at a height of about 8-10 feet to prevent tampering. Adjust the camera angle so that it captures wide and unobstructed views of key areas.
Consider the camera's field of view and its focal length. Outdoor cameras may require a wider angle, while indoor cameras might need a more focused field of view.
2.3 Avoiding Blind Spots
Ensure that all vulnerable points are adequately covered. Place cameras in a way that minimizes overlapping footage while ensuring that there are no blind spots. A professional installation typically ensures 100% coverage.
Step 3: Prepare the Installation Area
Once you’ve decided on the camera placement, prepare the installation areas. This involves ensuring that the location is free from obstacles and providing a reliable power supply.
3.1 Power Supply
- Wired Cameras: Wired cameras require a nearby power source. Ensure you have a stable electrical outlet nearby or plan to run a power cable from a nearby source.
- Wireless Cameras: Wireless cameras still need a power source, typically through batteries or a direct power connection. Check if the location has access to electrical outlets or plan for battery placement.
3.2 Tools You’ll Need
You’ll need the following tools for mounting and wiring your cameras:
- Screwdrivers
- Drills
- Wall anchors and screws
- Measuring tape
- Cable ties
- Electrical tools (if wiring cameras into a power source)
3.3 Cable Management
If you're installing wired cameras, make sure to run the cables neatly and securely. Use wall anchors or clips to prevent cables from being exposed, and hide them wherever possible to avoid damage. Proper cable management will not only make the installation look neat but will also protect the cables from wear and tear.
Step 4: Mount the Cameras
Once you’ve prepared the location and power source, it’s time to mount the cameras. This step should be done carefully to ensure the cameras stay in place and continue to offer the best coverage.
4.1 Mounting the Camera
Use screws and anchors to secure the camera mounts firmly. Ensure that the mounting surface is stable, especially for outdoor cameras. For PTZ cameras, you’ll need to make sure the camera is securely mounted in a place where it has a clear range of movement.
4.2 Adjust the Camera Angles
Before fully securing the camera, test the camera angle to ensure it covers the desired areas. Adjust the camera’s direction and angle if necessary. Make sure there’s no obstruction to its field of view.
4.3 Weatherproofing
For outdoor cameras, ensure the camera is properly weatherproofed. Ensure that seals are intact to protect the camera from rain, snow, and extreme temperatures. Use weatherproof casings or enclosures when necessary.
Step 5: Set Up the Security System
Now that the cameras are mounted, it’s time to configure the security system. This includes connecting your cameras to your network, setting up motion detection, and enabling remote access.
5.1 Connect the Cameras to the Network
For IP cameras, connect each camera to your Wi-Fi or Ethernet network. Wireless cameras should automatically connect to your Wi-Fi, while wired cameras will require Ethernet cables for data transfer.
5.2 Adjust Settings
- Motion Detection: Enable motion detection features to receive alerts when the camera detects movement. Adjust the sensitivity to avoid unnecessary notifications from small or minor movements.
- Recording Settings: Set up continuous recording, or opt for event-based recording triggered by motion.
- Night Vision: Ensure your outdoor cameras have night vision enabled to provide clear images in low light. Some cameras have adjustable infrared settings to help with visibility at night.
5.3 Enable Remote Viewing
Most modern cameras allow remote monitoring via a smartphone app or desktop software. Set up the app and ensure that your cameras are properly synced. Test the video feed on your phone or computer to ensure the system is working correctly.
5.4 Backup Storage
Consider using cloud storage or a local hard drive to store the video footage. Backup systems ensure you don’t lose crucial footage in case of a system failure.
Step 6: Test the System
Once everything is installed and configured, thoroughly test the system to make sure everything is functioning as it should. Walk through the property and check the coverage from each camera, making sure no area is left unmonitored.
Test the remote viewing capabilities, the motion detection sensitivity, and the clarity of the footage. If there are any issues, adjust the settings or reposition the cameras as needed.
Step 7: Regular Maintenance and Monitoring
To ensure your security cameras continue to function optimally, perform regular maintenance. Clean the lenses, check the connections, and ensure that all cameras are still positioned correctly. Check the camera feed occasionally and ensure the storage system is working.
7.1 Firmware Updates
Many security cameras receive firmware updates to improve performance or add new features. Make sure to stay on top of these updates to ensure your system is always up to date.
7.2 Battery Replacement
If you’re using wireless cameras that run on batteries, check the battery levels regularly and replace them when needed. Most wireless cameras send low-battery alerts, but it’s still important to check the battery status periodically.
Conclusion
Installing security cameras requires careful planning, the right equipment, and proper execution. With the right preparation, you can ensure that your security system provides optimal coverage and protection for your home or business. Remember to follow these professional installation tips to set up your cameras properly and ensure they function as intended.
At Cam Security Surveillance, we specialize in professional security camera installation. Whether you’re looking to secure your home or business, our team of experts can help you with every step of the installation process, ensuring that your system is customized to meet your needs. Feel free to reach out to us for more information on how to secure your property effectively.