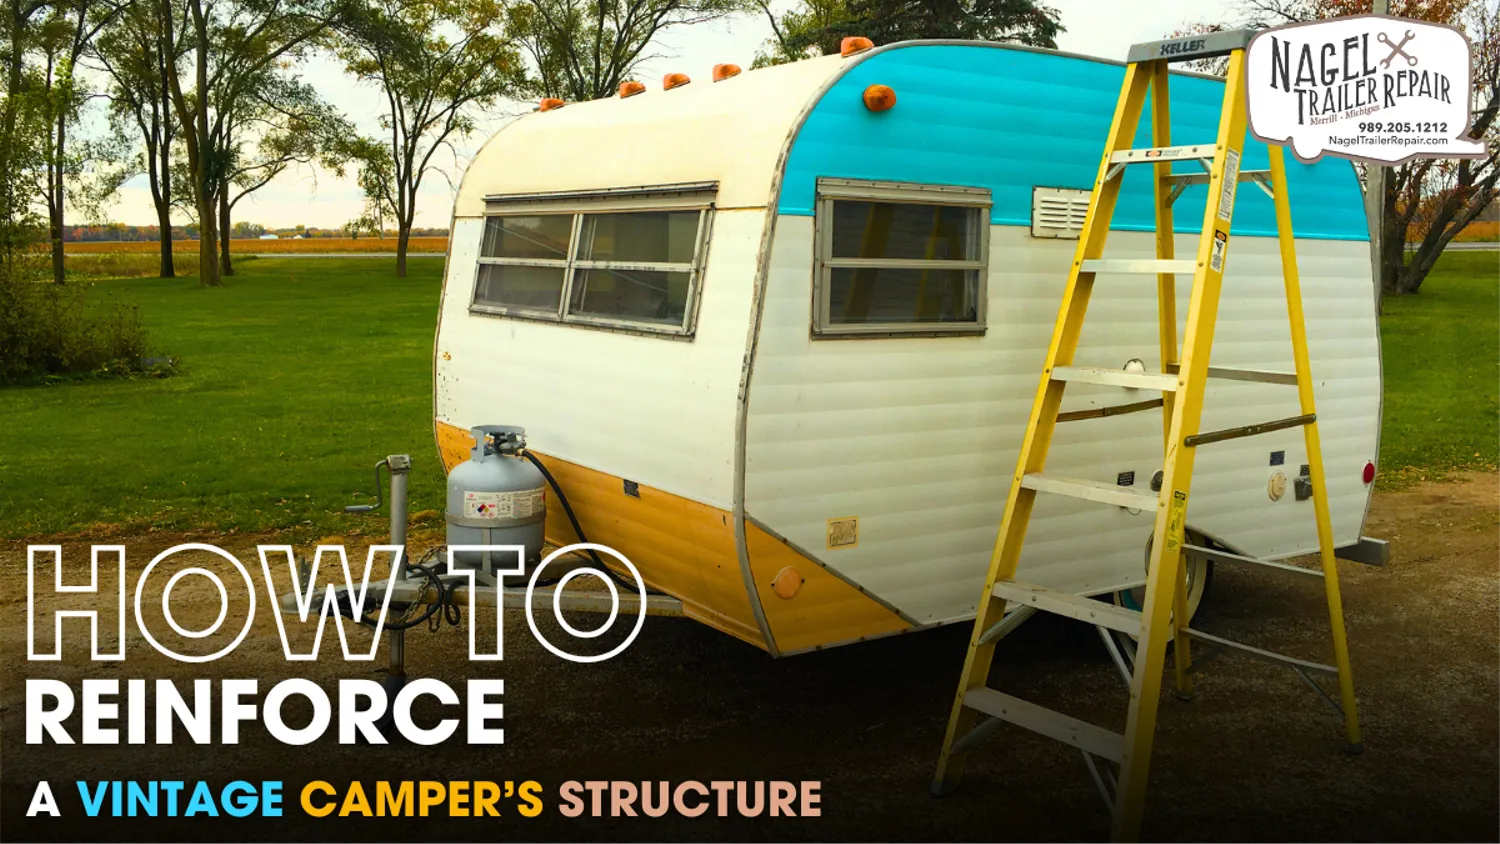
Vintage campers bring back a wave of nostalgia and the joy of exploring the open road with charm and character. However, their old age means they’re often subject to structural wear and tear that can compromise safety and comfort. Reinforcing a vintage camper’s structure is essential to extend its lifespan, enhance its stability, and protect it from environmental damage. In this guide, we’ll cover everything you need to know to strengthen your vintage camper’s frame, from identifying weak spots to using the right materials and tools.
Assessing the Current Condition of Your Camper’s Structure:
The first step in reinforcing a vintage camper is to thoroughly assess its current condition. This means examining key areas prone to weakness and identifying spots that may need reinforcement. Key areas to examine include:
- Frame: The frame serves as the backbone of the camper and often suffers from rust, dents, or weak joints over time.
- Flooring: Water damage can weaken the floor, especially near the edges, corners, and areas exposed to moisture.
- Walls and Seams: Check for any signs of water intrusion, as leaks can severely weaken the walls and joints.
- Roof: An old roof might sag or have leaks, which can compromise structural integrity over time.
Inspect these areas and note any visible signs of damage, rust, or structural weakness. Consider professional help for a more detailed assessment, especially if there’s extensive damage or if you’re unfamiliar with camper structures.
Choosing the Right Materials for Reinforcement:
Once you’ve assessed the weak areas, select appropriate materials for reinforcement. The most common materials used for reinforcing vintage campers are steel, aluminum, and wood. Here’s a breakdown of each:
- Steel: Known for its durability, steel is often used to strengthen frames. It’s resistant to corrosion when treated and is highly supportive but adds significant weight.
- Aluminum: Aluminum is lightweight, rust-resistant, and can provide strong support to walls, floors, or frames. However, it may lack the strength of steel and might not suit all areas.
- Wood: Marine-grade plywood and treated wood are often used for flooring reinforcements and panel replacements. Wood offers a classic look but can be susceptible to water damage if not sealed properly.
Evaluate the pros and cons of each material in light of your camper’s needs and budget to decide which will be most effective in reinforcing your specific camper model.
Reinforcing the Camper Frame:
The frame is the main structure that holds the camper together, so reinforcing it is crucial. Depending on the damage, you might need to replace parts of the frame or add reinforcements in specific areas.
- Cleaning and Prepping the Frame: Start by cleaning the frame thoroughly to remove rust and debris. Use a wire brush, sandpaper, or grinder to clean off any rusted areas.
- Welding Steel Reinforcements: If the frame has extensive damage, welding new steel beams to it may be necessary. This process requires precision and should ideally be done by a professional if you’re unfamiliar with welding.
- Adding Support Brackets: For minor repairs, adding metal support brackets along the frame joints can provide additional stability without requiring full-scale welding.
- Coating for Rust Protection: After reinforcing, coat the frame with a rust-prevention spray or paint to ensure long-lasting protection.
Strengthening the Flooring:
Vintage camper floors are often made of wood or plywood, which can weaken over time due to moisture and wear. To reinforce the flooring:
- Replace Damaged Wood: Remove any damaged sections of flooring and replace them with marine-grade plywood or treated wood, as these are more resistant to moisture.
- Install Cross Bracing: Cross-bracing involves installing beams across the floor supports to distribute weight more evenly and add stability. Steel or aluminum cross braces are often effective for this purpose.
- Add Insulation and Sealing: Once the flooring is reinforced, consider adding insulation and sealing it with waterproof materials to prevent further moisture damage.
Reinforcing Camper Walls and Seams:
The walls and seams of a vintage camper play a critical role in its overall stability. Water leaks, rust, and age can cause them to weaken, but with proper reinforcement, you can maintain their structural integrity.
- Reinforce the Wall Studs: Vintage campers often have wooden studs in the walls. If these are weak or damaged, replace them with treated wood or metal studs.
- Add Metal Plates to Seams: For additional support, consider adding metal plates or L-brackets to the corners and seams, particularly in areas prone to stress.
- Seal Joints with Waterproof Sealant: Sealing the seams and joints with a high-quality waterproof sealant can prevent water infiltration, which is crucial for long-lasting structural health.
Repairing and Reinforcing the Roof:
The roof is one of the most vulnerable areas of a vintage camper and is prone to sagging, leaks, and other forms of damage. Reinforcing the roof can significantly enhance the camper’s durability and weather resistance.
- Replace Rotten Roof Panels: Inspect the roof panels for signs of rot or damage. Replace damaged sections with marine-grade plywood or metal sheeting for added durability.
- Add Roof Support Beams: Reinforcing the roof with additional support beams can help prevent sagging. Aluminum beams are ideal for their strength and lightweight properties.
- Seal and Coat: Use waterproof sealants and roof coatings designed for campers to prevent leaks and protect against the elements.
Strengthening Windows and Doors:
Windows and doors are prone to wear and can compromise the camper’s structure if not properly reinforced.
- Replace Old Frames: If the window or door frames are loose or damaged, replace them with treated wood or aluminum frames.
- Add Weather Stripping and Sealant: Weatherproofing around windows and doors can prevent leaks and provide extra support, reducing strain on these openings.
- Install Latches and Locks: Reinforce doors and windows with latches and locks to enhance security and stability while on the road.
Adding Reinforcement for Heavy Loads:
If you’re planning to carry heavy loads in your camper, adding extra structural support is a good idea.
- Install Weight Distribution Bars: These bars can help distribute the camper’s weight more evenly across the frame and prevent sagging.
- Add Floor Reinforcement: For heavier loads, consider adding extra cross-bracing under the floor to support additional weight.
- Strengthen Hitch Attachment Points: Reinforcing the hitch and attachment points on your camper is essential for towing heavy loads safely. This can involve welding additional metal plates or brackets to the hitch area.
Finishing Touches and Final Inspection:
Once you’ve reinforced the structure, perform a thorough inspection to ensure all parts are secure.
- Check All Reinforced Areas: Inspect all reinforced areas, including the frame, flooring, walls, and roof, to make sure they’re stable and secure.
- Apply a Protective Coating: Consider applying a final protective coating to the entire camper to guard against rust, weather, and wear.
- Schedule Regular Maintenance: Set a maintenance schedule to routinely check for signs of wear and perform minor repairs as needed. Regular inspections can help you catch issues early and prevent larger structural problems down the line.
Conclusion:
Reinforcing a vintage camper’s structure is an essential part of restoring its reliability, longevity, and charm. By focusing on key areas such as the frame, flooring, walls, and roof, you can ensure your camper is not only safe but also well-prepared for future adventures. For owners interested in vintage camper repair in the Great Lake States, reinforcing the structural elements can address common issues related to wear, water damage, and weakened joints that develop over time.
Using durable materials like treated wood, steel, and aluminum, and taking the time to inspect and strengthen load-bearing areas, will provide a stable foundation for a vintage camper that’s likely endured years of exposure and travel. Adding support beams, replacing damaged components, and sealing any potential entry points for water are all steps that reinforce your camper and help preserve its original character.
For those new to camper repair or seeking additional support, consider seeking out specialized vintage camper repair services in Michigan. With expert assistance, you can ensure the structural integrity of your camper is solid and capable of withstanding the demands of the road. Reinforcement projects may require time and effort, but they’re worthwhile for the long-lasting security and enjoyment they bring to your camper, allowing you to embark on your travels with both safety and style.