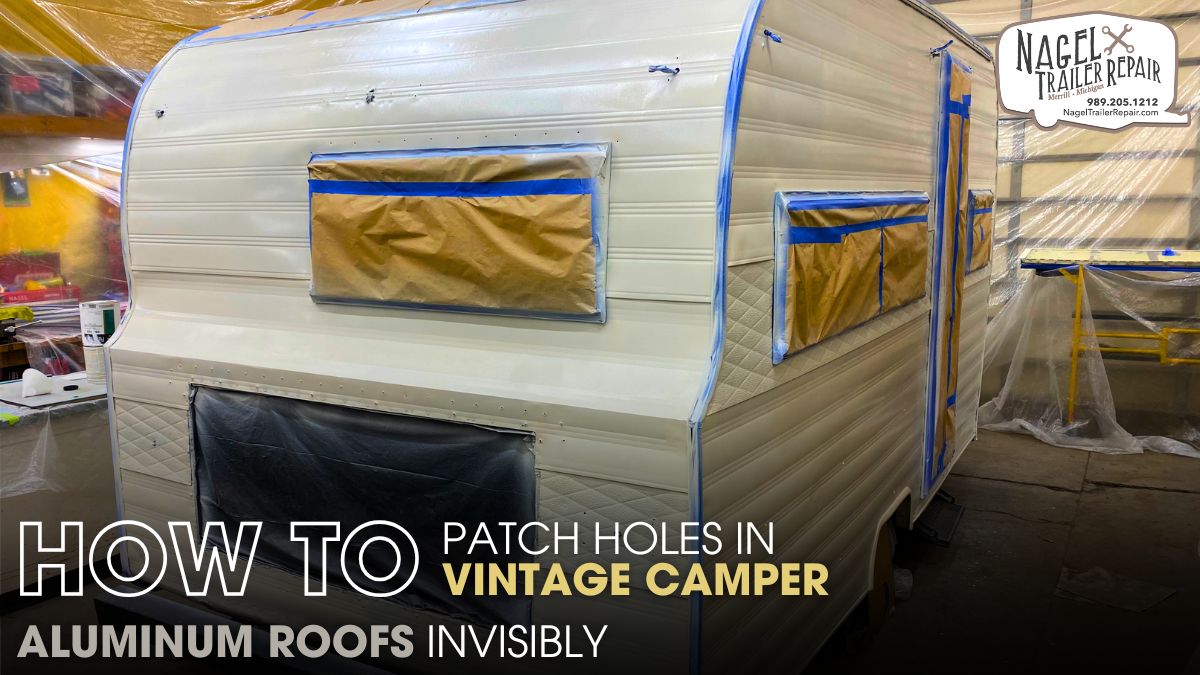
Vintage campers are built with soul. Whether it’s a polished 1950s Airstream or a cozy wood-trimmed Shasta, their distinct charm lies in details—right down to their aluminum-clad roofs. But time, weather, and corrosion are not always kind. One of the most common issues camper restoration pros and DIYers face is the dreaded pinhole or gouge in the aluminum roof. If you've spotted a leak or physical damage in your vintage camper’s roofing, don’t panic. With the right materials and know-how, you can patch those imperfections nearly invisibly—retaining the charm and structural integrity of your rig.
This detailed guide will walk you through how to patch holes in vintage camper aluminum roofs without compromising aesthetics. From prep to finish, we’ll cover every step with professional tips learned from the field.
Step 1: Evaluate the Damage and Determine the Repair Scope
Before grabbing tools, take time to understand the full scope of the issue. Water stains inside your ceiling, bubbling paint on interior panels, or oxidized roof metal around the hole are all signs of ongoing damage. To do an invisible repair, you need to first confirm that the surrounding aluminum is structurally sound.
Start by lightly pressing around the hole to check for soft spots or flexing. If the aluminum around the hole has become brittle or weakened, the patch won’t hold. In these cases, you may need to cut out and replace a section instead of applying a surface patch.
Also, determine the hole’s cause—was it hail, dropped tools, roof flexing, or corrosion? If it's corrosion, check the rest of the roof. Catching small issues early is key to preventing a full-blown restoration project. Professional Vintage Camper Repair Michigan services often start here, using borescopes or infrared moisture mapping to locate hidden weaknesses.
Step 2: Clean the Repair Area Thoroughly
Invisible patching starts with preparation. Aluminum roofs accumulate years of grime, oxidation, and sealant residue. To ensure your patch bonds properly, clean at least a 12-inch radius around the hole.
Use a combination of these steps for best results:
- Wash the area with warm water and mild degreasing soap.
- Use a plastic scraper to remove any old caulk or sealant.
- Apply a deoxidizer made for aluminum (such as Aluma-Brite or an equivalent).
- Lightly scuff the area using a non-woven abrasive pad or 320-grit sandpaper.
Rinse and dry completely. Any residual oil, oxidation, or dirt can compromise adhesion. In high-end Vintage Camper Repair Michigan shops, techs even use isopropyl alcohol for a final wipe-down to eliminate trace oils.
Step 3: Select the Right Patch Material
To keep the patch invisible, choose an aluminum sheet that matches the gauge and finish of your roof. Most vintage campers use aluminum ranging from .024" to .032" thick. A common mistake is using flashing or aluminum tape—that only adds contrast and catches the eye.
Try to source your patch material from a donor camper or an RV restoration parts supplier. If your camper has a brushed or mill finish roof, avoid polished aluminum that will stand out.
For best visual integration:
- Cut your patch in a rounded or oval shape instead of a square.
- Slightly bevel or round the patch’s edges with a file.
- Try to align the patch’s grain with your existing roof’s aluminum lines.
This attention to detail separates a basic patch from one that disappears to the eye.
Step 4: Bonding the Patch Using Structural Adhesive
Many vintage camper owners are tempted to rivet or screw their patches. While this is structurally sound, it’s not ideal if you’re aiming for invisibility. Every screw head or rivet disrupts the clean surface of your roof.
Instead, use a structural aluminum adhesive like 3M 5200 Marine Adhesive Sealant or VHB tape combined with a perimeter sealant. This technique, often employed by top Vintage Camper Repair Michigan professionals, creates a strong bond that doesn’t require mechanical fasteners.
Apply a thin, even bead of adhesive around the backside of your patch. Press the patch into place firmly, and use painter’s tape or small clamps to hold it down while curing. Be sure to follow the adhesive's curing instructions—typically 24 to 72 hours.
Step 5: Seal the Patch Edges Invisibly
Once the patch is firmly bonded and the adhesive has cured, it’s time to seal the perimeter. Even if your bond is watertight, UV rays and moisture can slowly degrade unprotected edges.
Choose a sealant that matches your roof and remains paintable or blendable. A thin film of self-leveling sealant like Dicor or Sikaflex 715 will help feather the edges into the roof. Apply with a small artist's spatula or gloved finger for a smooth, low-profile result.
If the camper will be polished or clear-coated, avoid over-application. You want to blend, not build.
Vintage Camper Repair Michigan technicians often test sealant blends on scrap aluminum before applying to ensure color match and consistency. This step may feel tedious but is key to achieving invisible results.
Step 6: Feather and Blend the Surface
Once your sealant cures, you may notice a slight step where the patch meets the original roof. This isn’t just a cosmetic concern—it can catch debris, water, and snow melt over time.
Use ultra-fine 600-grit sandpaper or a blending pad to feather the patch into the surrounding surface. Work in a circular motion, not linear, to prevent scratches from standing out under direct light. If needed, polish with aluminum cleaner or a non-abrasive polish to restore the original finish.
Feathering takes time but makes a huge difference. When done correctly, the patched area will reflect light consistently, rendering it virtually invisible to the average observer.
Step 7: Final Waterproofing and Inspection
Once your patch is in place and blended, the final step is ensuring long-term durability. Run a low-pressure water test over the patched area, checking the underside of the roof for drips or dampness.
Use a flashlight to inspect from inside, especially during low light. Check again 12 to 24 hours later for hidden moisture or condensation. Water intrusion is sneaky and persistent—it may appear only after temperature or humidity changes.
Professionals in Vintage Camper Repair Michigan often schedule a follow-up moisture check a week later, especially after rain or snow exposure. Don’t rush this step—your patch is only as good as its seal.
Step 8: Maintain the Repair Over Time
A properly applied patch can last decades—but only with regular upkeep. Keep the roof clean, especially in fall and spring when leaves and dust accumulate. Monitor the patch area for signs of UV degradation, sealant discoloration, or corrosion.
Add a clear UV protectant or roof wax if your camper is stored outside. If you’re polishing your camper regularly, apply by hand to avoid catching patch edges with buffing tools.
Vintage Camper Repair Michigan experts often recommend logging all roof repairs, including photos, materials used, and dates. This documentation is invaluable for future restorations, resale, or warranty claims.
The Role of Professional Maintenance:
Professional maintenance plays a critical role in preserving the beauty and function of vintage campers. When it comes to delicate tasks like patching holes in aluminum roofs invisibly, precision is everything. A seamless repair demands expert prep, period-correct materials, and advanced bonding techniques that avoid unsightly rivets or mismatched panels. DIY fixes often fall short, leaving visible scars or future leaks.
That’s why so many turn to Vintage Camper Repair and Revamp in Michigan, where skilled technicians blend craftsmanship with modern materials to restore vintage trailers with care. From roof patches that disappear into the metal to full interior overhauls, professional help ensures repairs not only look original but also stand up to the elements. In Michigan’s changing weather, expert attention can mean the difference between seasonal joyrides and costly water damage. Trust the pros to protect your vintage camper’s legacy.
Conclusion:
An aluminum roof is a defining feature of any classic trailer, and a hole—no matter how small—can threaten both aesthetics and function. But with careful preparation, the right materials, and a blend of old-school craftsmanship and modern adhesives, you can perform nearly invisible patches that last for years. The trick lies not in hiding the repair, but in integrating it so seamlessly that it becomes part of the camper’s story.
If the idea of cutting, bonding, and sealing aluminum makes you nervous, or your vintage camper has multiple leaks, don’t hesitate to contact a trusted Vintage Camper Repair Michigan technician. These specialists have experience working with rare components, period-specific finishes, and the art of making the old feel new again. Whether you’re DIY-ing a weekend fix or investing in a full roof restoration, remember—done right, your patch won’t just seal a hole; it’ll preserve a legacy. And in the world of vintage campers, that’s worth every minute of care.