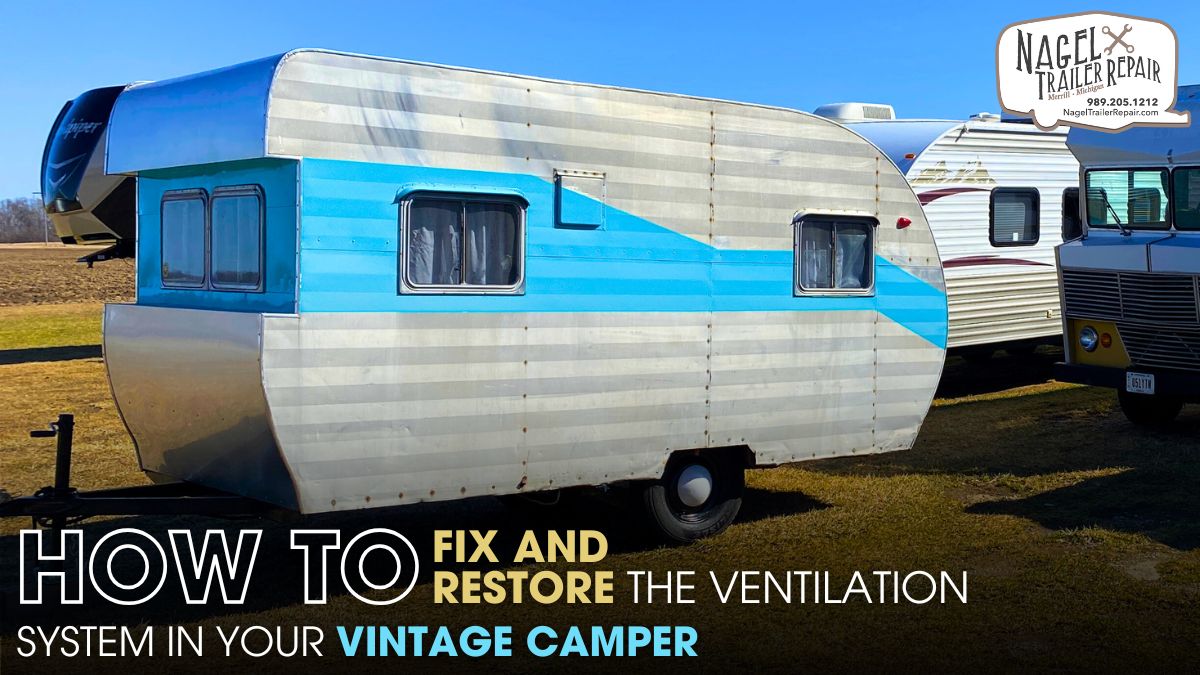
Restoring a vintage camper is a rewarding project, but it comes with unique challenges. Among the most critical components to consider is the ventilation system. A properly functioning ventilation system in your vintage camper is essential for comfort, safety, and longevity. Without it, you might face problems like mold, condensation, or unpleasant odors that can dampen your camping experience. In this guide, we will walk you through how to fix and restore the ventilation system in your vintage camper.
Why a Ventilation System Matters in a Vintage Camper?
Vintage campers, especially those built before the widespread use of modern HVAC systems, often lack adequate ventilation. These older models typically relied on manual airflow methods such as small windows and vents. Over time, however, these systems may have deteriorated or become blocked, leading to insufficient airflow. When you're restoring your camper, it's crucial to focus on fixing the ventilation to ensure a comfortable and healthy environment inside.
Key Issues with Vintage Camper Ventilation:
Before you start the restoration process, it’s essential to understand the common issues that vintage camper ventilation systems face:
- Blocked or Rusted Vents: Over the years, vents can become blocked by dirt, debris, or rust. This can prevent air from circulating, leading to moisture buildup and a stale atmosphere inside your camper.
- Old and Leaky Seals: If the seals around your vents and windows have deteriorated, air might not circulate properly. This can result in drafts, heat loss, or humidity buildup.
- Aging Exhaust Fans: Many vintage campers are equipped with exhaust fans that are essential for removing moisture and stale air from the interior. If the fan has stopped working or is inefficient, it can cause unpleasant conditions.
- Inadequate Insulation: If your camper lacks proper insulation, it can contribute to poor ventilation by allowing outside air to infiltrate and interfere with air circulation inside.
Steps to Fix and Restore the Ventilation System:
Now that you understand the potential issues, let’s dive into the steps required to restore your camper’s ventilation system.
Step 1: Inspect the Existing Ventilation System
The first step is to assess the current state of the ventilation system in your vintage camper. Start by checking the vents on the roof, windows, and walls. Ensure that the vents open and close easily and that they are free of debris, rust, or damage. If any vents are blocked, it’s time to clean or replace them. You should also check the seals around these areas to ensure they aren’t cracked or worn.
Vintage Camper Repair Michigan professionals often recommend checking the overall airflow inside the camper. If the air feels stagnant or there is a noticeable difference in temperature between the interior and exterior, the ventilation system may need more than just a cleaning. A complete restoration could be necessary to ensure proper airflow.
Step 2: Clean and Clear the Vents
One of the most common causes of poor ventilation is a buildup of dirt, dust, or rust in the vents. Cleaning the vents is an easy first step that can significantly improve airflow. For metal vents, use a wire brush or steel wool to remove rust. For plastic vents, be careful not to crack them while cleaning. Use a vacuum to clear out any debris from inside the vent tubes.
Be sure to clean the exterior vents as well, as leaves, twigs, and other debris can easily block airflow. If your vents are particularly old or damaged, it might be time to replace them with more efficient models.
Step 3: Replace the Exhaust Fan
If your vintage camper has an exhaust fan, it's a crucial component of the ventilation system. Over time, these fans can wear out or become less effective. Check the fan to ensure that it runs smoothly and isn't obstructed by dirt or grime. If the fan is not working, replacing it should be a priority.
When choosing a replacement exhaust fan, look for energy-efficient models that are easy to install. Some modern fans are designed specifically for vintage campers, and they can fit into the same mounting holes, making installation a breeze.
Vintage Camper Repair Michigan specialists can help you find the best replacement parts for your exhaust fan to ensure optimal performance. If your fan works but is inefficient, consider upgrading to a more powerful unit or adding a second fan for better airflow.
Step 4: Seal Any Gaps or Leaks
After cleaning and replacing the vents and fan, the next step is to check the seals. Over time, the rubber or silicone seals around windows, doors, and vents can degrade, allowing air to escape or unwanted moisture to enter. This can disrupt the airflow inside the camper and lead to problems like mildew or condensation.
Inspect the seals carefully and replace them if necessary. You can find sealant kits at most hardware stores, which include everything you need to reseal vents, windows, and doors. Make sure the new seals are airtight to restore maximum ventilation.
Step 5: Add Extra Ventilation Options
If you find that your vintage camper still doesn’t have adequate ventilation, it might be time to consider adding more ventilation options. Installing additional roof vents or side vents can greatly improve airflow. For added comfort, you might also want to consider installing a window-mounted air intake system that helps circulate cool air from outside.
For a more modern approach, Vintage Camper Repair Michigan experts might recommend adding a small, quiet air circulation fan. These fans can help maintain air movement inside the camper even when the external temperature is stagnant or extreme.
Step 6: Insulate the Camper Properly
Proper insulation is just as crucial to a camper’s ventilation system as airflow itself. Insulation helps to regulate temperature, making sure the interior stays cool in the summer and warm in the winter. If your camper lacks proper insulation or if the old insulation is no longer effective, it's worth investing in new materials. Insulated windows, foam boards, and reflective materials are excellent choices for improving your camper’s overall climate control.
When restoring your vintage camper, make sure the insulation is installed around the walls, floor, and ceiling. This will not only improve ventilation but also increase the efficiency of your heating and cooling systems.
Step 7: Regular Maintenance
Once your ventilation system is restored, it's essential to maintain it properly. Regularly check the vents, fans, and seals to ensure they are in good working condition. Perform routine cleaning and inspections to prevent buildup or blockages that could interfere with airflow.
To keep everything in optimal condition, consider setting up a yearly maintenance schedule to check the ventilation system thoroughly. This proactive approach will save you from costly repairs down the road.
The Role of Professional Maintenance:
When it comes to preserving the charm and functionality of your vintage camper, professional maintenance plays a crucial role. Two often-overlooked areas are the ventilation system and roof vent—keeping them in top condition is key to ensuring a comfortable and long-lasting camping experience.
Over the years, the ventilation system in your vintage camper might accumulate dust, grime, or even rust. It’s essential to have a professional inspect and clean the system, making sure the fans, ducts, and vents are in good working order. This not only helps maintain healthy airflow but also prevents unpleasant odors and mold growth. If the fan motor is malfunctioning, an expert can easily replace it to restore your camper’s ventilation efficiency.
Maintaining the Roof Vent to Prevent Water Damage: The roof vent is a vulnerable spot that can lead to leaks and water damage if not properly maintained. Regular checks are important to ensure the vent’s seals are intact. A professional can reseal or replace the vent cover, protecting the interior from potential water damage. They can also inspect the roof for other issues, giving you peace of mind that your camper stays dry and in excellent condition.
Conclusion:
Restoring the ventilation system in your vintage camper is an essential part of the overall restoration process. By following the steps outlined above, you can ensure that your camper has a fresh, breathable environment, free of moisture, stale air, and discomfort. Whether you're tackling a minor repair or a complete overhaul, paying attention to the ventilation system will not only improve your camper’s functionality but also extend its lifespan.
If you’re unsure about tackling the restoration yourself, consider seeking professional assistance for Vintage Camper Repair Michigan services. Experienced technicians can help with diagnosing issues, sourcing parts, and making sure your camper’s ventilation system is in top shape for years of enjoyment.
By regularly maintaining your ventilation system, you'll ensure your vintage camper remains a safe and comfortable retreat, no matter where the road takes you.