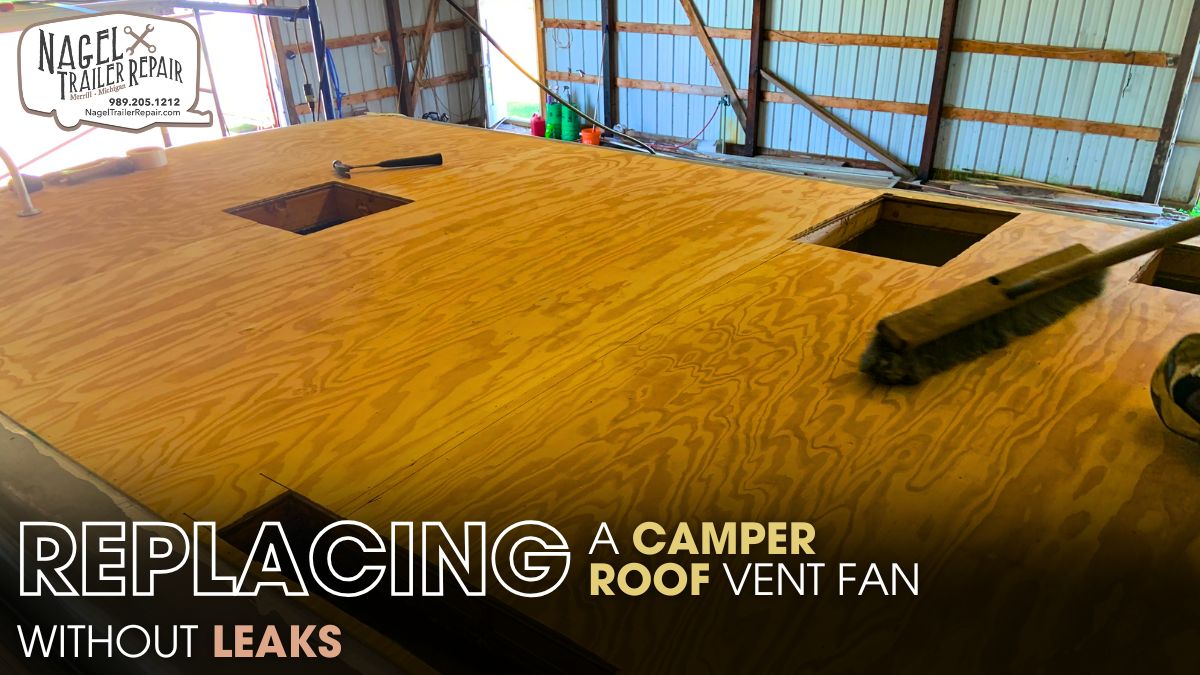
Replacing the roof vent fan in your camper might sound like a daunting task, but with the right approach, it can be a straightforward project that ensures a watertight seal and better airflow inside your RV. Leaky vent fans are not just an inconvenience—they can cause long-term water damage, mold, and deterioration of your camper’s roof structure. Performing the replacement with careful attention to sealing is the key to avoiding leaks and extending the life of your camper. If you're located in the Midwest and want to ensure a proper fix, especially with the varying weather conditions, Camper Roof Sealing Michigan techniques can offer guidance specific to regional needs.
Assessing the Condition:
Before diving into the replacement process, it's essential to assess the current condition of the roof vent fan and surrounding area. Begin by inspecting for cracks, water stains, or brittle plastic around the housing. Often, signs of damage will be visible around the base, and moisture may already be seeping in. Make sure the roof membrane around the vent is intact. Any old sealant that looks dry, cracked, or lifting should be considered compromised.
After verifying that the fan indeed needs replacing, ensure that you gather the right tools and a replacement vent fan compatible with your camper's model. This project generally requires a cordless drill, putty knife, plastic scraper, butyl tape, self-leveling lap sealant, denatured alcohol, and a caulking gun. You’ll also want to check your local hardware store or camper supply dealer for sealant that matches Camper Roof Sealing Michigan standards—products formulated to handle Michigan’s freeze-thaw cycles are preferable.
Removing the Old Fan with Care:
Start by disconnecting the camper from its power source to avoid any electrical hazards. If your vent fan is wired into the 12V system, turning off the battery or breaker is necessary before proceeding. Climb safely onto the camper roof using a stable ladder, and position yourself securely around the vent area.
Use a plastic scraper to remove the old sealant carefully. Avoid damaging the roof membrane or fiberglass around the fan housing. Once you expose the screw heads, remove all screws securing the vent fan to the roof. Slowly lift the fan up and disconnect any wiring. It’s a good idea to take a photo of the wire connections before undoing them, especially if you plan to connect a new fan the same way.
Clean the area thoroughly with denatured alcohol to remove old sealant residue. Any remnants of grime, silicone, or adhesive can interfere with the new seal and potentially cause leaks down the line. Proper cleaning and prep work are fundamental, especially in climates like Michigan where seasonal changes put added stress on roof seals. Adopting Camper Roof Sealing Michigan methods at this stage ensures better long-term results.
Installing the New Vent Fan:
Position the new vent fan in the opening, making sure it sits flush with the roof. Use butyl tape underneath the flange to create a watertight gasket between the fan and the roof surface. This step is crucial, as butyl tape remains flexible and provides a solid seal that can withstand temperature fluctuations.
Once the fan is aligned, fasten it in place with corrosion-resistant screws. Ensure each screw is driven straight and doesn’t over-compress the flange. A warped or uneven flange can create gaps that later allow water intrusion. Reconnect the wiring using the notes or photo from the disassembly process. Test the fan at this point to confirm it powers on and operates correctly.
With the fan securely in place and functional, apply a generous bead of self-leveling lap sealant around the entire perimeter of the flange. Overlap slightly onto the roof surface and the edge of the flange. This ensures water sheds away rather than pooling at the base. The sealant should flow and level out naturally—do not attempt to smooth it manually.
Michigan's weather can be unpredictable, so using products aligned with Camper Roof Sealing Michigan standards helps provide a flexible, UV-resistant, and durable seal. Give the sealant at least 24 hours to cure before exposing it to rain or snow.
Final Inspection and Maintenance Tips:
After the installation and sealant curing period, inspect the seal thoroughly. Look for any missed spots, air bubbles, or uneven edges. If you notice any irregularities, apply additional lap sealant to reinforce those areas.
Regular maintenance will extend the life of your new vent fan. Every six months, inspect the sealant and clean the fan blades. Reapply sealant as necessary, especially before the onset of winter or after a hot summer. Whether you're a weekend traveler or full-time RVer, keeping the roof components in top shape is essential. For those living or traveling in the Midwest, incorporating Camper Roof Sealing Michigan techniques into routine care ensures optimal performance year-round.
The Role of Professional Maintenance:
When it comes to keeping your camper in top shape, even the most confident DIYers know some jobs are better left to skilled hands. Take replacing a roof vent fan, for example. It’s not just about swapping out parts—it’s about sealing it properly so leaks don’t creep in later. A small mistake with the sealant or misaligned screws can let in moisture that slowly damages the roof’s structure. Professionals make sure everything is watertight and built to last, especially when working with delicate roofing materials.
Then there’s the challenge of preparing your camper for harsh weather. Reinforcing the Camper’s Roof for heavy snow and rain isn’t as simple as adding support beams. The load has to be distributed evenly, and materials need to be chosen carefully to avoid warping or creating pressure points. Experienced technicians understand how to assess structural integrity and apply reinforcements that won’t compromise your roof over time. Whether it’s installing bracing, upgrading insulation, or resealing weak points, their expertise prevents future headaches and costly repairs. A well-maintained camper roof not only keeps you dry—it keeps your adventures going, season after season.
Conclusion:
Replacing a camper roof vent fan might seem intimidating at first, but with careful attention to detail and proper sealing practices, the process can be both successful and leak-free. The most critical aspect is not just installing the fan but ensuring it’s protected against the elements. Clean preparation, correct installation techniques, and the right sealing materials make all the difference. Whether you're dealing with harsh winters or summer storms, the roof vent must remain sealed and intact to prevent water intrusion and damage.
Following Camper Roof Sealing Michigan-based practices gives your installation the durability it needs to withstand seasonal weather changes. Even if you're not a seasoned DIYer, this project is well within reach if approached methodically. Proper sealing, high-quality materials, and thorough inspection are your best defenses against future leaks. Your camper roof is one of the most critical barriers against the elements—treat it with care, and it will protect your adventures for years to come.