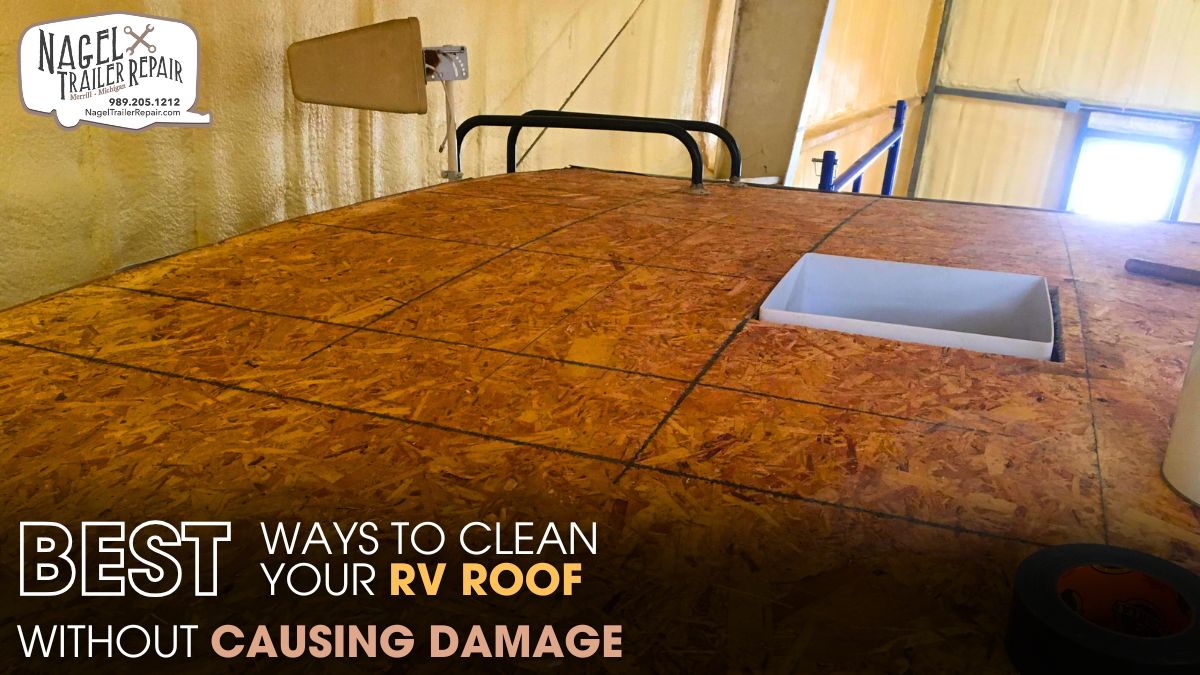
Keeping your RV roof clean isn’t just about appearances. It’s essential for protecting your investment and avoiding future repairs. A dirty roof can lead to cracked seals, water damage, and expensive leaks. But cleaning your RV roof the wrong way can cause just as much trouble. Using harsh chemicals or high-pressure washing methods can strip protective coatings or damage membranes, especially on rubber and fiberglass roofs. The key is knowing the right cleaning techniques that are both effective and gentle.
Understanding the Structure of Your RV Roof:
Before you climb up with a brush and bucket, it’s important to know what kind of roof your RV has. Most modern RVs come with one of three types: EPDM (rubber), TPO (thermoplastic), or fiberglass. Each has different sensitivities. EPDM roofs are common and budget-friendly, but they’re prone to oxidation and chalking over time. TPO roofs are more reflective and resist dirt better, while fiberglass roofs are extremely durable but heavier and more expensive.
Each of these materials reacts differently to soaps, water, and scrubbing. Using an incompatible cleaner can reduce your roof’s lifespan or lead to small tears and leaks that go unnoticed until it’s too late. That’s where experienced professionals in RV Roof Repair Michigan stress the importance of using roof-specific cleaners and tools tailored to your rig's surface.
Step-by-Step Cleaning Process Without Damage:
Start by picking a cool, overcast day if possible. Cleaning your RV roof under direct sunlight causes water and soap to dry quickly, which can leave behind streaks or even cause spotting. Begin by rinsing the entire roof with clean water to remove loose debris like leaves, dust, and sap. Avoid using a pressure washer because the intense force can lift seams, damage vents, or tear the membrane along the edges.
Use a soft-bristle brush and a cleaner designed specifically for RV roofs. Never use household soaps, bleach, or degreasers. These might seem to work well on tough stains, but they strip the protective layers and can deteriorate sealants. Instead, go with a biodegradable, non-abrasive RV roof cleaner. Apply the solution in small sections, gently scrubbing in circular motions to break down dirt and chalky buildup. Pay special attention to areas around vents, skylights, and AC units—these spots often collect the most grime and are more prone to leaks.
Once you've cleaned each section, rinse thoroughly. Leaving soap residue behind can lead to staining and early membrane wear. Professionals in RV Roof Repair Michigan often emphasize the importance of doing one final clean-water rinse from the highest point of the roof downward, ensuring no cleaner seeps into seals or cracks.
After the rinse, inspect the roof. Look closely for signs of cracking, lifted seals, or bubbling in the membrane. These are early warning signs of water intrusion and should not be ignored. If you're unsure, contact a trusted local service offering RV Roof Repair Michigan for a detailed inspection. They can often catch small issues before they become costly repairs.
Protective Coating and Routine Care:
Cleaning your RV roof should always be followed by protection. Once the surface is dry, apply a UV-resistant protectant made for your roof type. Rubber roofs benefit from conditioning products that reduce chalking and extend life, while fiberglass surfaces often need a gel coat protectant to resist fading and oxidation. TPO roofs usually require less maintenance but still benefit from a UV guard applied twice a year.
Coating not only protects against sun damage but also makes future cleanings easier. A well-maintained coating prevents dirt from bonding with the surface, reducing how hard you need to scrub and decreasing the chance of abrasion. Apply protectants in even layers using a sponge or microfiber cloth, and make sure you don’t get any on the roof vents or skylights.
A strong cleaning and protection routine is one of the best defenses against future leaks. Many of the calls for RV Roof Repair Michigan start with neglected roof maintenance that spiraled into internal water damage. Prevention saves both money and peace of mind, especially if you're storing your RV in Michigan's varying climate conditions, which can quickly wear down exposed materials.
Storing and Monitoring for Long-Term Success:
Once you've cleaned and protected your RV roof, consider how and where you store it. Parking under a covered structure or using a breathable RV cover can prevent falling debris, bird droppings, and direct UV exposure. If covered storage isn’t an option, inspect the roof monthly—even when the RV isn’t in use. Snow accumulation, fallen branches, or puddled water from storms can cause wear over time.
During storage periods, especially in the Midwest, condensation and temperature swings can affect sealants. Make it a habit to check for soft spots by walking the roof gently, feeling for spongy areas underfoot that suggest water damage. Early detection is your best chance at minimizing repair costs and downtime.
Even the most attentive RV owner will eventually face wear and tear. That’s why knowing a dependable provider for RV Roof Repair Michigan is just as important as proper cleaning. When you do need help, working with a local technician who understands the unique seasonal demands of Michigan’s climate ensures long-lasting results and better workmanship.
The Role of Professional Maintenance:
Cleaning your RV roof the right way makes all the difference in extending its life. Too many owners unknowingly cause damage by using high-pressure washers, bleach-based cleaners, or stiff brushes. These methods can strip away protective coatings and lead to cracks in the sealant. Instead, use a soft-bristle brush, a roof-safe cleaner, and rinse thoroughly with low-pressure water. Always work in sections and avoid cleaning in direct sun to prevent streaks and soap residue. After cleaning, apply a UV-resistant protectant suited to your roof type—rubber, TPO, or fiberglass—to maintain flexibility and block sun damage.
Just as important, but often overlooked, is the condition of your roof’s edge flashing. Poorly sealed or aging flashing can allow water to seep into the roof layers through a process called capillary infiltration. It doesn’t take a storm—just trapped moisture and a small gap. Water follows seams by surface tension and travels deep into the substructure. Over time, this silent leak can rot wood framing and insulation without any visible sign on the ceiling. That's why even small separations at the roof edge demand attention. A routine inspection can catch early signs like bubbling sealant or soft spots at the corners, which, if ignored, can lead to major structural damage.
Conclusion:
Cleaning your RV roof without causing damage comes down to understanding your roof type, using the right tools and products, and maintaining a consistent schedule. Skipping these steps or using aggressive methods might save time in the moment but often leads to long-term damage. A thoughtful approach preserves your investment and keeps you road-ready, rain or shine. Always rinse thoroughly, avoid harmful chemicals, and finish with the right protectant to extend your roof’s lifespan. Above all, don’t wait for visible leaks to take action. Make roof care a routine part of your RV lifestyle.
If you're in Michigan and uncertain about your roof's condition, get a professional inspection from a team specializing in RV Roof Repair Michigan. Their expertise ensures you catch problems early and avoid major repairs later. In the end, it’s about protecting what’s above you, so you can focus on the journey ahead.