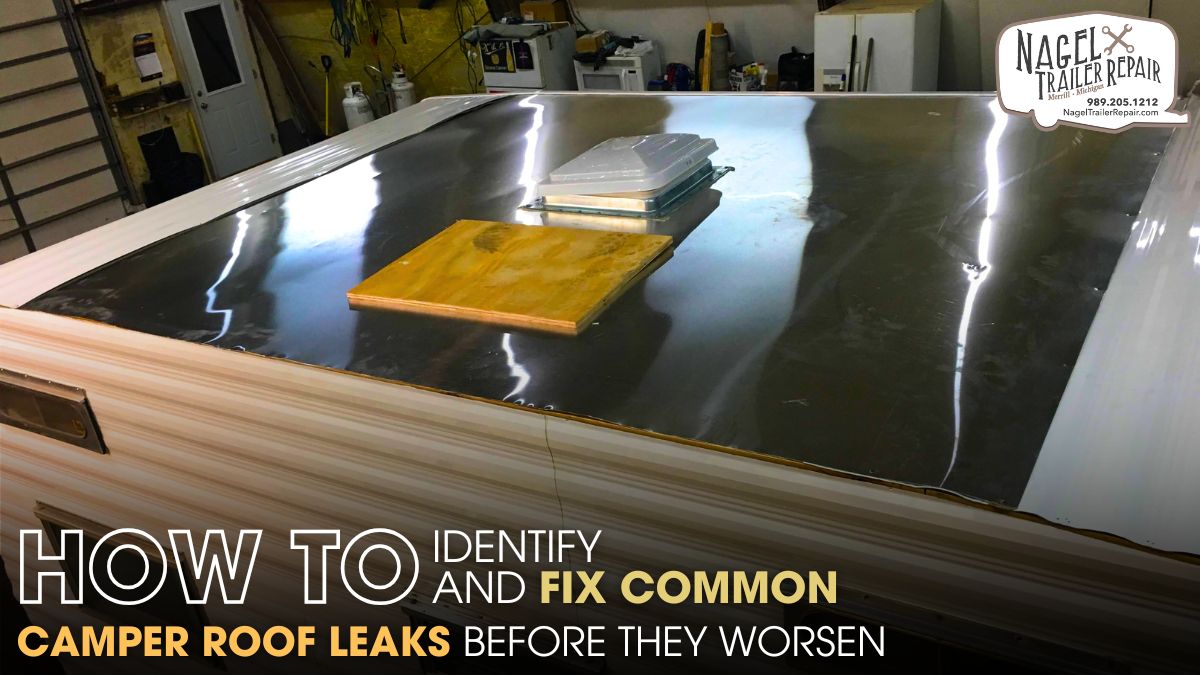
Owning a camper means freedom, adventure, and the ability to explore the great outdoors, but it also comes with the responsibility of maintaining the vehicle. One of the most common problems that camper owners face is roof leaks. Even a small leak can lead to significant damage over time, resulting in costly repairs. Identifying and fixing roof leaks early can save you money and help keep your camper in top condition for years. In this guide, we’ll explore how to identify and fix common camper roof leaks before they worsen.
Understanding Camper Roof Leaks:
A camper roof leak might seem like a minor inconvenience at first, but it can quickly escalate into a serious issue. Water entering the camper’s roof can damage insulation, lead to mold growth, and cause the structural integrity of the vehicle to weaken. Roof leaks are often caused by wear and tear, extreme weather conditions, or poor maintenance. The key to preventing significant damage is early identification and prompt repairs.
Signs of a Roof Leak:
Before diving into repairs, it's essential to know the signs of a camper roof leak. By recognizing these early warning signals, you can address the problem before it leads to more significant issues.
1. Water Stains Inside the Camper
One of the most common signs of a roof leak is water stains inside your camper. You might notice these stains on the ceiling or along the walls, usually in the form of brown or yellowish patches. These stains often appear after heavy rain or wet conditions. If you notice any stains, it's essential to investigate the roof for potential leaks.
2. Dampness or Moldy Smell
A musty or moldy smell is another indication of water damage inside the camper. Excess moisture from a leak can lead to mold and mildew growth. If you notice this odor, check for visible mold growth or damp spots in your camper, especially around seams, corners, and the roof.
3. Wet or Damp Insulation
Insulation inside the camper can become damp due to a roof leak, leading to poor temperature regulation and potential mold growth. If your camper feels colder than usual or the insulation feels damp when you inspect it, there’s a good chance that a roof leak is to blame.
4. Visible Damage on the Roof
Sometimes, leaks are visible from the outside. Check for cracked or damaged roof materials, particularly around vents, seams, and corners. If you notice any loose or worn-out roofing materials, it may be an indication of a leak.
5. Dripping Water
In some cases, the leak is severe enough to cause water to drip inside the camper. If you see water dripping from the ceiling or walls, act immediately to prevent further damage.
Common Causes of Camper Roof Leaks:
There are several common causes of roof leaks in campers. Understanding these causes can help you identify where the leak is coming from and take appropriate action.
1. Aging Roof Materials
Like any other part of your camper, the roof will degrade over time. As the roof ages, materials such as rubber, vinyl, or fiberglass can crack, warp, or become brittle. These cracks and imperfections can allow water to seep through, leading to leaks.
2. Damaged Seals Around Vents and Skylights
Vents, skylights, and other roof openings are vulnerable to leaks. Over time, the seals around these openings can break down due to UV exposure, extreme weather, or simply aging. If the seal around a vent or skylight is compromised, water can enter the camper.
3. Roof Seam Problems
Roof seams are one of the most common locations for leaks. The seams where different sections of the roof meet are particularly vulnerable to water infiltration. If these seams are not properly sealed, moisture can find its way inside, leading to a leak.
4. Blocked Drains or Gutters
A clogged drain or gutter can prevent water from properly flowing off the roof. When water pools on the roof, it can eventually seep into the camper, especially if the roof material is damaged or aging. Regularly cleaning your camper's roof and gutters can prevent this issue.
5. Poor Roof Installation or Repairs
If your camper's roof was poorly installed or previously repaired, it might not be sealed correctly, leading to leaks. Even if a roof repair looks fine on the surface, improper techniques or subpar materials can cause issues in the long run.
How to Fix Common Camper Roof Leaks?
Once you've identified the source of the leak, it’s time to fix it. Below, we'll cover the steps you can take to repair common camper roof leaks.
A. Inspect and Clean the Roof
Before making any repairs, it’s essential to inspect the roof thoroughly. Start by cleaning the roof to remove any debris, dirt, or leaves that could be obstructing your view of the damage. Look closely at the seams, vents, and any areas that may show signs of wear. Use a ladder to get up close to the roof, and don’t forget to check areas that may be hard to see, such as around air conditioners or antennas.
B. Seal the Roof Seams
For leaks caused by poor or damaged roof seams, you’ll need to reseal the affected areas. Start by cleaning the seams with a mild detergent and water. Once the seams are clean and dry, apply a high-quality sealant designed for camper roofs. Be sure to use a sealant that is compatible with your roof material. Follow the manufacturer’s instructions carefully, and apply the sealant generously, ensuring a complete seal along the seam.
C. Repair Cracks and Holes
If you’ve identified cracks or holes in the roof material itself, they’ll need to be repaired. Small cracks can be patched with roof repair tape or sealant, but larger holes may require more substantial repairs, such as replacing the damaged section of the roof. For fiberglass roofs, you may need to apply a fiberglass repair kit to fill in the hole and restore the integrity of the roof.
D. Replace Damaged Roof Vents or Skylights
If the leak is coming from a vent or skylight, check the seals around these openings. If the sealant is cracked or worn, scrape away the old material and reapply a new layer of high-quality sealant. If the vent or skylight itself is damaged, you may need to replace the entire unit. Be sure to use a replacement that fits your camper model and follow the installation instructions carefully.
E. Apply Roof Coating
After repairing any cracks or seams, apply a roof coating to seal the entire roof. Roof coatings are designed to provide an additional layer of protection against water, UV rays, and extreme temperatures. There are various types of roof coatings available, including rubber, silicone, and acrylic options. Choose a coating that is compatible with your roof material and apply it according to the manufacturer’s instructions.
F. Regularly Check the Roof
Even after you've repaired your camper roof, it’s essential to perform regular inspections. Check for signs of wear, cracks, or damage at least twice a year. Regular maintenance can help you spot problems early, preventing leaks before they worsen.
The Role of Professional Maintenance:
Professional maintenance plays a crucial role in extending the life of your camper and preventing costly repairs. When it comes to roof leaks, early detection and swift action are vital. Professional maintenance ensures that common issues like cracked seams, damaged seals, or aging roof materials are identified and fixed before they worsen. By utilizing high-quality materials and expert techniques, professionals can seal leaks effectively, preventing water damage and mold growth inside your camper.
For seasonal RV camper roof sealing and maintenance, professional services are key to preparing your camper for extreme weather conditions. Regular inspections and roof coatings ensure that your camper remains protected throughout the year. A well-maintained roof not only prevents leaks but also helps improve energy efficiency. With expert care, your camper roof will stay in top condition, saving you from expensive repairs and ensuring a safe, comfortable camping experience.
Conclusion:
Camper roof leaks are a common issue that can lead to extensive damage if not addressed promptly. By recognizing the signs of a leak and understanding the common causes, you can take the necessary steps to identify and fix roof leaks before they worsen. Regular maintenance and timely repairs are essential for keeping your camper in excellent condition.
For residents of Michigan, it’s essential to focus on proper camper roof sealing. A professional service specializing in Camper Roof Sealing Michigan can help ensure your roof is thoroughly sealed, preventing leaks and protecting your camper against harsh weather. Whether you're dealing with an aging roof or simply performing routine maintenance, having the right expertise can make all the difference. Keep your camper in top condition and enjoy worry-free adventures for years to come.