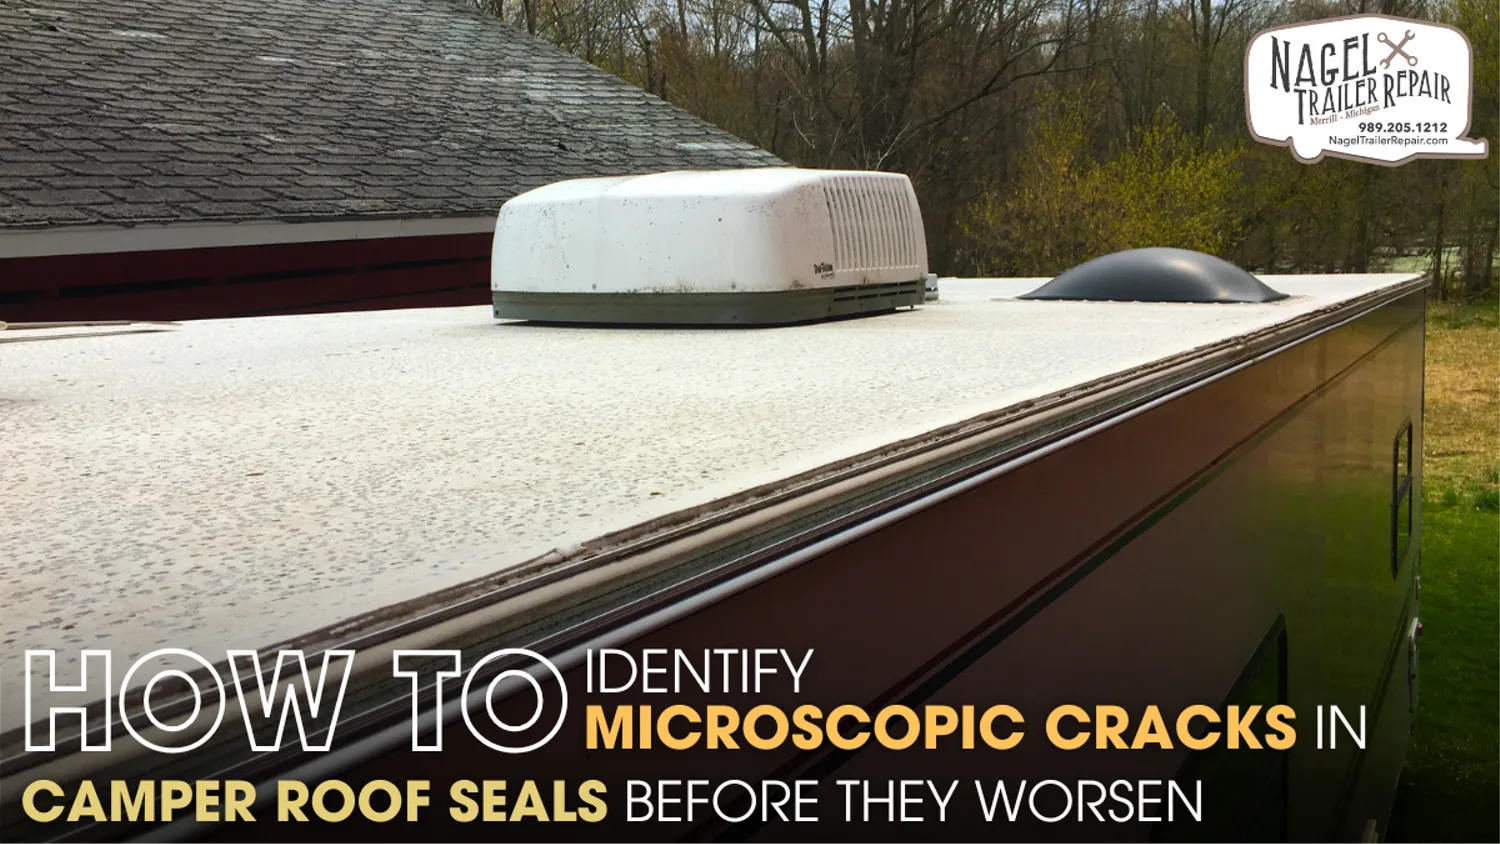
A camper's roof seals are crucial in protecting the interior from water damage, maintaining the insulation, and ensuring the camper remains weatherproof during your travels. While most people focus on visible cracks or damage, microscopic cracks in roof seals can be just as problematic. These small fissures may not be immediately apparent but can worsen over time, leading to significant issues that affect the structure and functionality of your camper. Identifying and addressing microscopic cracks early can save you time, money, and potential repairs down the road. In this post, we’ll discuss how to spot these tiny cracks before they turn into bigger problems.
Understanding Camper Roof Seals:
Roof seals are typically made of rubber, silicone, or polyurethane, materials chosen for their durability and ability to withstand extreme weather conditions. These seals serve as a barrier against moisture, air, and dirt infiltration, protecting sensitive areas like the roof vents, skylights, and joints where the roof meets the walls. The longevity of these seals depends on a variety of factors, including the type of material, exposure to UV rays, the climate conditions, and regular maintenance.
Over time, wear and tear can cause seals to dry out, crack, and lose their flexibility, especially if they are exposed to harsh sun, freezing temperatures, or high humidity. Though larger cracks are easy to spot, smaller, microscopic cracks can be much harder to detect.
The Impact of Microscopic Cracks on Roof Seals:
Though they may seem insignificant, microscopic cracks can allow moisture to penetrate the seal, leading to water damage that is difficult to repair. Water that enters through even the smallest crack can infiltrate the roof’s structure, leading to mold, rot, and rust. Over time, this can compromise the integrity of the entire camper. The longer these cracks go unnoticed, the more likely they are to expand and cause further damage to the roof, insulation, and interior components of the camper.
Additionally, these cracks can exacerbate energy loss, reducing the camper’s ability to maintain a comfortable temperature. Air leaks through these tiny fissures can lead to an increase in heating and cooling costs, especially if the camper is used frequently or stored for extended periods.
How to Identify Microscopic Cracks?
While microscopic cracks in camper roof seals are difficult to detect with the naked eye, there are several methods you can use to identify them before they worsen.
1. Inspect Seals Under Different Lighting Conditions
One of the best ways to detect microscopic cracks is to inspect the seals under bright lighting. Natural sunlight is ideal for this, as it allows you to examine the seals more clearly. Microscopic cracks may show up as thin lines or crevices that aren’t visible in dim light. Using a flashlight or a high-powered LED light to shine across the roof seals can help highlight any imperfections. The light will reflect differently off cracked areas, making them more noticeable.
2. Check for Moisture Stains or Water Damage Inside
Sometimes, the first sign of a microscopic crack is water damage inside the camper. If you notice moisture stains on the ceiling, walls, or around windows and doors, it could be a sign that water is penetrating through the roof seals. While this typically suggests more significant damage, smaller cracks can allow water to seep in slowly, causing gradual deterioration. Pay close attention to areas where the roof meets the walls or where vents, skylights, or antenna mounts are attached to the roof. These are common spots for water to leak through.
3. Perform a Visual Inspection for Surface Damage
Even small surface damage, such as discoloration, brittleness, or slight wear, can indicate that the roof seal is in need of attention. Microscopic cracks may start as fine lines or small pits, often caused by sun exposure, weathering, or age. You may also notice that the rubber or silicone seals become less flexible over time. If the material feels hard or brittle, it could be a sign that microscopic cracks are present.
4. Use a Magnifying Glass or Camera
If you're having trouble spotting microscopic cracks with the naked eye, using a magnifying glass or a digital camera with a zoom lens can help. These tools allow you to examine the seals in greater detail, highlighting tiny fissures that may have otherwise gone unnoticed. This method is particularly useful when checking the edges or joints where roof seals meet other parts of the camper.
5. Check for Increased Drafts or Energy Loss
If you notice an increase in drafts or the need to run the heater or air conditioner more often, microscopic cracks in the roof seals could be the cause. Small gaps allow conditioned air to escape, leading to increased energy consumption. A test for air leaks can be done by moving your hand along the edges of the roof seals to feel for any drafts. Alternatively, you can use a smoke test, where you use a smoke stick or incense near the seals to detect any movement caused by drafts.
How to Prevent Microscopic Cracks from Worsening?
Once you identify microscopic cracks in your camper roof seals, it’s essential to address them before they turn into larger problems. Regular maintenance and proactive care can go a long way in extending the life of your seals and preventing water damage.
A. Sealant Application
If you detect microscopic cracks, applying a new layer of high-quality sealant can help fill the gaps and prevent further damage. Choose a sealant that is compatible with your roof material and can withstand the conditions in which you use your camper. For example, silicone sealants are ideal for rubber or vinyl roofs, while polyurethane is often preferred for metal roofs.
B. Regular Cleaning and Maintenance
Cleaning your roof and seals regularly is essential in preventing debris buildup and ensuring that the seals remain intact. Use a gentle cleaning solution and soft cloth to remove dirt and grime. Avoid harsh chemicals that could damage the sealant. Regular inspections and reapplication of sealant, especially after severe weather conditions, can also help maintain the integrity of your roof seals.
C. Protection from UV Rays
UV radiation from the sun can cause roof seals to degrade over time, leading to cracks and brittleness. To protect your seals, consider using a UV-protective coating or cover your camper with a UV-resistant tarp when it’s not in use. This can help reduce the rate at which the seals dry out and crack.
D. Prompt Repairs
If you identify any cracks, no matter how small, it’s crucial to address them as soon as possible. Use a professional mobile repair service or perform the repairs yourself to prevent the cracks from spreading. Applying fresh sealant and ensuring proper adhesion can keep moisture out and help prolong the life of your seals.
Conclusion:
Microscopic cracks in camper roof seals are often overlooked, but they can cause significant damage if left unaddressed. Regular inspections, combined with prompt repairs, can help you identify these tiny fissures before they worsen. By paying attention to changes in the roof seals and maintaining them with the proper sealants and protective measures, you can extend the lifespan of your camper and prevent costly repairs down the road. If you’re concerned about cracks or need help with Camper Roof Sealing Michigan, it’s always wise to consult with professionals who specialize in camper roof maintenance and repair.