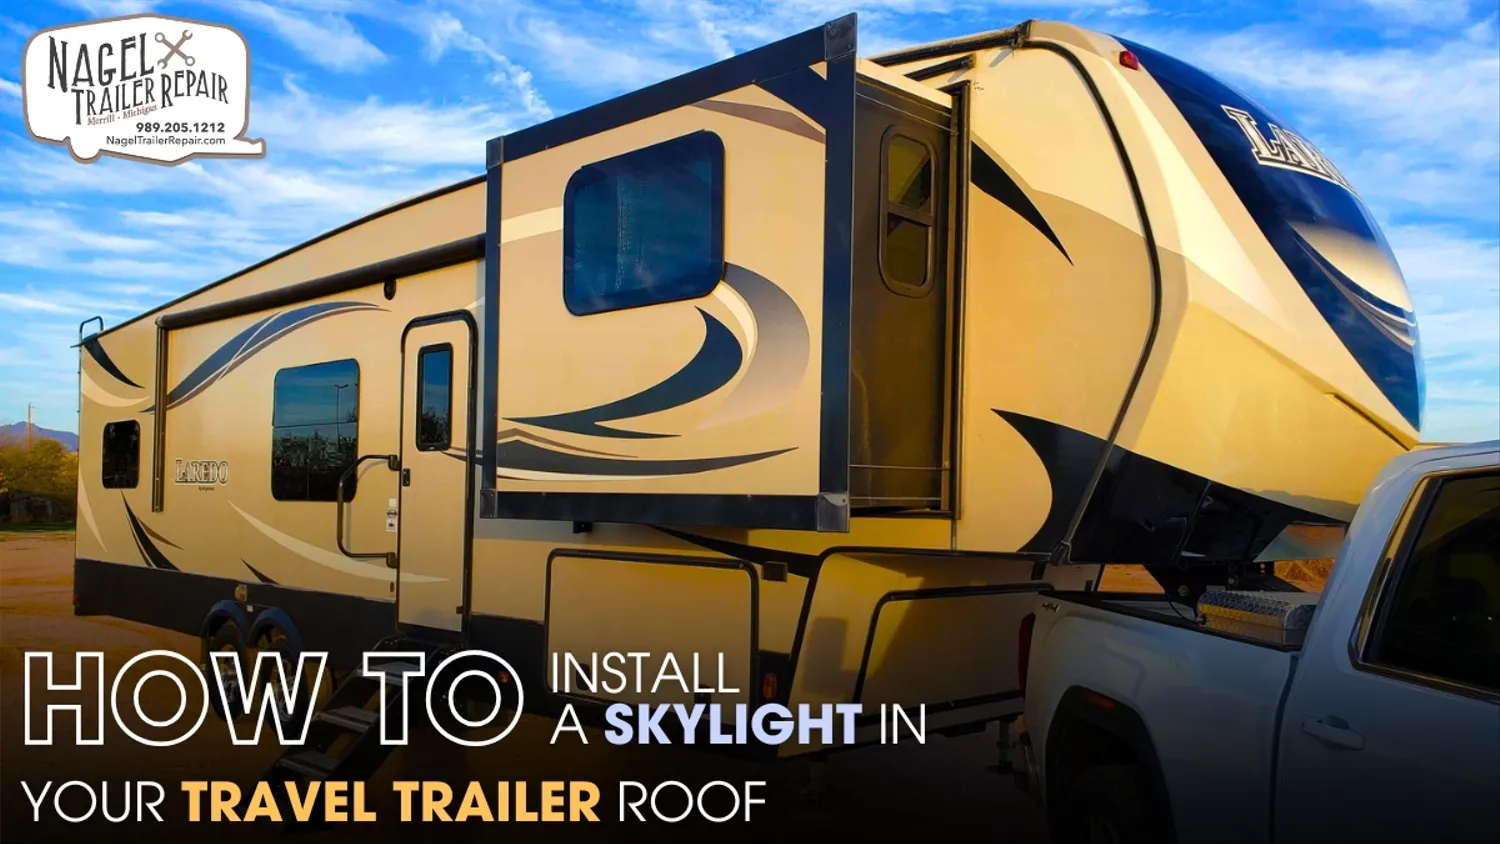
Installing a skylight in your travel trailer roof isn’t just about aesthetics—it’s about bringing in natural light, improving ventilation, and enhancing the overall comfort inside your mobile home. Whether you're renovating an older model or customizing a newer fifth wheel, the process requires careful planning, the right materials, and technical precision. A skylight can significantly change the interior ambiance, making small spaces feel larger and more inviting.
This guide walks you through the entire process of installing a skylight in your travel trailer roof, covering every critical detail from preparation to sealing, while also addressing common challenges faced by DIYers and professionals alike. And if you’re located in Michigan, where seasonal changes impact trailer maintenance, understanding proper skylight installation becomes even more essential. For those searching for 5th Wheel Trailer Repair Michigan services, this guide can also help you identify whether you want to attempt the project yourself or call in a specialist.
Choosing the Right Skylight for Your Trailer:
The first step in any skylight installation project is selecting the correct skylight unit. Travel trailer roofs are not all created equal—some are flat, while others are curved or sloped. You need a skylight designed specifically for RV or trailer applications, typically made from durable polycarbonate or acrylic materials. These are UV-resistant and built to withstand wind, rain, and the shifting weight that occurs as the trailer moves.
Measure the space where you want to install the skylight. Most trailer skylights come in standard sizes, but if you’re working on a custom job, you may need to adapt a residential skylight or order a custom piece. Consider vented skylights if airflow is a concern in the trailer's interior, especially in bathrooms or cooking areas. Before purchasing, check that the unit includes a flange or curb to ensure proper sealing to your roof type.
Locating the Ideal Installation Spot:
Installing a skylight is not as simple as cutting a hole and dropping in a window. The interior layout of your trailer determines the available ceiling clearance. Begin by inspecting the trailer’s roof and ceiling from both the inside and outside. Identify structural members like roof trusses or aluminum framing channels. You must avoid cutting into these structural supports, as doing so could compromise the integrity of the roof.
Remove ceiling panels if necessary to inspect the cavity above. Use a stud finder or carefully drill pilot holes to map out the position of framing components. Mark the installation area clearly with masking tape or a marker to indicate where the skylight will sit. Use a level to ensure alignment. This attention to detail is especially important for DIY enthusiasts in 5th Wheel Trailer Repair Michigan scenarios, where long winters and moisture infiltration can magnify any installation errors.
Preparing the Roof Surface:
Once the location is chosen, prep the roof area thoroughly. Clean the surface with a mixture of water and mild detergent to remove dirt, grease, and residue. Let it dry completely. If the roof has a rubber EPDM membrane, be careful not to damage it during cleaning. Any roof membrane—whether rubber, fiberglass, or aluminum—must be treated carefully to prevent tearing or cracking around the cutout area.
Next, create a template based on your skylight dimensions. This should include the inner opening as well as the area around it for the mounting flange. Secure the template to the roof using painter's tape and double-check the placement inside the trailer. Drill pilot holes in each corner of the marked area. These holes act as guides when you cut the roof opening and allow you to view the cutout perimeter from both inside and out.
Cutting the Roof Opening:
Cutting into your trailer’s roof is a serious commitment, and it must be done with caution. Use a jigsaw or reciprocating saw with a fine-tooth blade for clean edges. Begin at the pilot holes and work your way along the marked lines slowly. Take your time—hurrying this part of the process can result in a misaligned or uneven cut, which will make sealing much harder.
After the roof is cut, inspect the edge of the hole and remove any burrs or debris. If your trailer has multiple roofing layers, such as insulation foam or plywood panels beneath a rubber membrane, you may need to trim these flush to the outer roof line. Test-fit the skylight to confirm that it sits snugly in the opening before proceeding.
For professionals handling 5th Wheel Trailer Repair Michigan, cutting the roof is often the most sensitive part of the job. It’s where accuracy and experience make a big difference.
Sealing and Mounting the Skylight:
Proper sealing ensures that your skylight doesn’t become a source of leaks. RV-grade butyl tape should be applied to the bottom edge of the skylight flange. Butyl tape is preferred over caulk for this application because it maintains a strong, flexible seal even with temperature fluctuations. Press the skylight firmly into the opening, making sure it is centered and flush against the roof surface.
Once the unit is in place, secure it using corrosion-resistant screws. Tighten them in a crisscross pattern to ensure even pressure across the flange. After fastening, apply a layer of self-leveling RV sealant around the perimeter of the skylight, covering all screw heads and seams. This sealant forms a weatherproof barrier and adapts well to movement and vibration—a necessity for mobile structures.
Many 5th Wheel Trailer Repair Michigan technicians recommend applying an additional layer of sealant over any overlapping roofing materials or roof tape to reinforce the seal in harsh winter conditions.
Reinforcing the Interior Ceiling:
With the skylight installed on the roof, turn your attention to the interior. Cut a matching hole through the ceiling panel inside the trailer using the same pilot holes used earlier. This may involve cutting through wood paneling, foam insulation, or ceiling vinyl, depending on your trailer’s construction. Once the hole is open, smooth the edges and install the inner trim ring or light diffuser provided with your skylight kit.
If the ceiling needs reinforcement, install additional framing around the cutout using lightweight aluminum channels or wood battens. This support prevents sagging and ensures that the ceiling remains rigid during travel. Attach the trim ring with screws or adhesives, following the manufacturer’s guidelines.
For anyone doing 5th Wheel Trailer Repair Michigan upgrades or restorations, this interior finishing step is key to preserving insulation value and achieving a polished final look.
Testing for Leaks and Final Adjustments:
Wait 24 hours for the sealants to cure before conducting a leak test. Spray water across the roof using a hose while another person checks the inside for leaks. Use a flashlight to inspect corners and edges closely. If you see any signs of moisture or bubbling in the sealant, reapply additional layers and allow more curing time.
Also, test the skylight’s venting mechanism if your model includes a manual or electric opening feature. Ensure smooth operation and that the seals close tightly. In cold climates like Michigan, where freeze-thaw cycles are common, any improper sealing can lead to serious water intrusion and ceiling damage.
Owners who regularly rely on 5th Wheel Trailer Repair Michigan services understand the importance of this step and often incorporate annual leak checks into their maintenance routines, especially after major installations like skylights or vents.
Maintaining Your Skylight Long-Term:
A skylight will only perform as well as the maintenance it receives. Regularly clean the outer dome using non-abrasive soap and a soft cloth to prevent scratching. Inspect the sealant every six months for signs of cracking, separation, or wear. If you spot any issues, remove the old sealant and reapply a fresh bead.
During winter storage, make sure the skylight is covered or protected from heavy snow buildup, which can cause stress cracks or warping. Avoid stepping on the skylight during roof maintenance, even if the material appears strong.
Many 5th Wheel Trailer Repair Michigan specialists offer annual roof inspection services that include skylight assessments, which can save trailer owners from expensive repairs down the road.
When to Call a Professional?
While installing a skylight is certainly a feasible DIY project for a skilled handyperson, there are times when professional help is the smarter choice. If your trailer’s roof is already compromised, or if you lack the tools for clean cuts and accurate sealing, outsourcing to a specialist ensures the job is done right the first time.
Additionally, trailers with complex wiring, ductwork, or solar panels integrated into the roof may require expert rerouting before installation. In these cases, hiring a 5th Wheel Trailer Repair Michigan service with skylight installation experience prevents costly mistakes and prolongs the life of your trailer roof.
The Role of Professional Maintenance:
Installing a skylight or repairing electrical issues in your travel trailer might seem like weekend DIY projects, but the difference between a smooth upgrade and long-term damage often comes down to experience. Take skylight installation, for example. It's not just about cutting a hole and dropping in a window. It requires understanding roof structure, proper sealing methods, and weatherproofing techniques that keep your trailer dry through every season. A misstep here can lead to leaks, mold, and costly ceiling repairs down the road.
The same level of precision applies to Travel Trailer’s electrical troubleshooting. Travel trailers have complex systems that blend AC and DC power, and a single frayed wire or misrouted ground can knock out lights, appliances, or even your battery charging system. Guesswork in these scenarios risks fire hazards or permanent damage to onboard electronics. Knowing when to step back and call someone who works with RV systems daily is key. Professionals don’t just fix the problem—they make sure the root cause is handled, ensuring long-term safety and reliability. Whether you’re bringing sunlight into your space or restoring your trailer’s essential power, it’s not always about what you can do—it’s about what’s best for your trailer’s future.
Conclusion:
Installing a skylight in your travel trailer roof is a transformative upgrade that brightens your living space and enhances ventilation. From selecting the right unit and planning the cutout to sealing and testing for leaks, each step plays a vital role in ensuring the longevity and function of your skylight. Especially in climates like Michigan, where weather extremes can challenge roof integrity, precise installation and high-quality sealing materials are essential.
DIY enthusiasts with solid carpentry and roofing skills can take on the task confidently, but for those less familiar with trailer construction, seeking professional 5th Wheel Camper Repair Michigan services is a wise move. Whether you’re modernizing a vintage fifth wheel or enhancing a newer model, the result—a sunlit, fresh, and cozy interior—is well worth the effort. Remember, successful skylight installation isn’t just about cutting a hole and dropping in a window.
It’s about ensuring structural safety, preventing leaks, and adding long-term value to your mobile investment. For any uncertainty during the process, don’t hesitate to consult a trusted 5th Wheel Trailer Repair Michigan professional to guarantee a flawless finish that holds up in every season