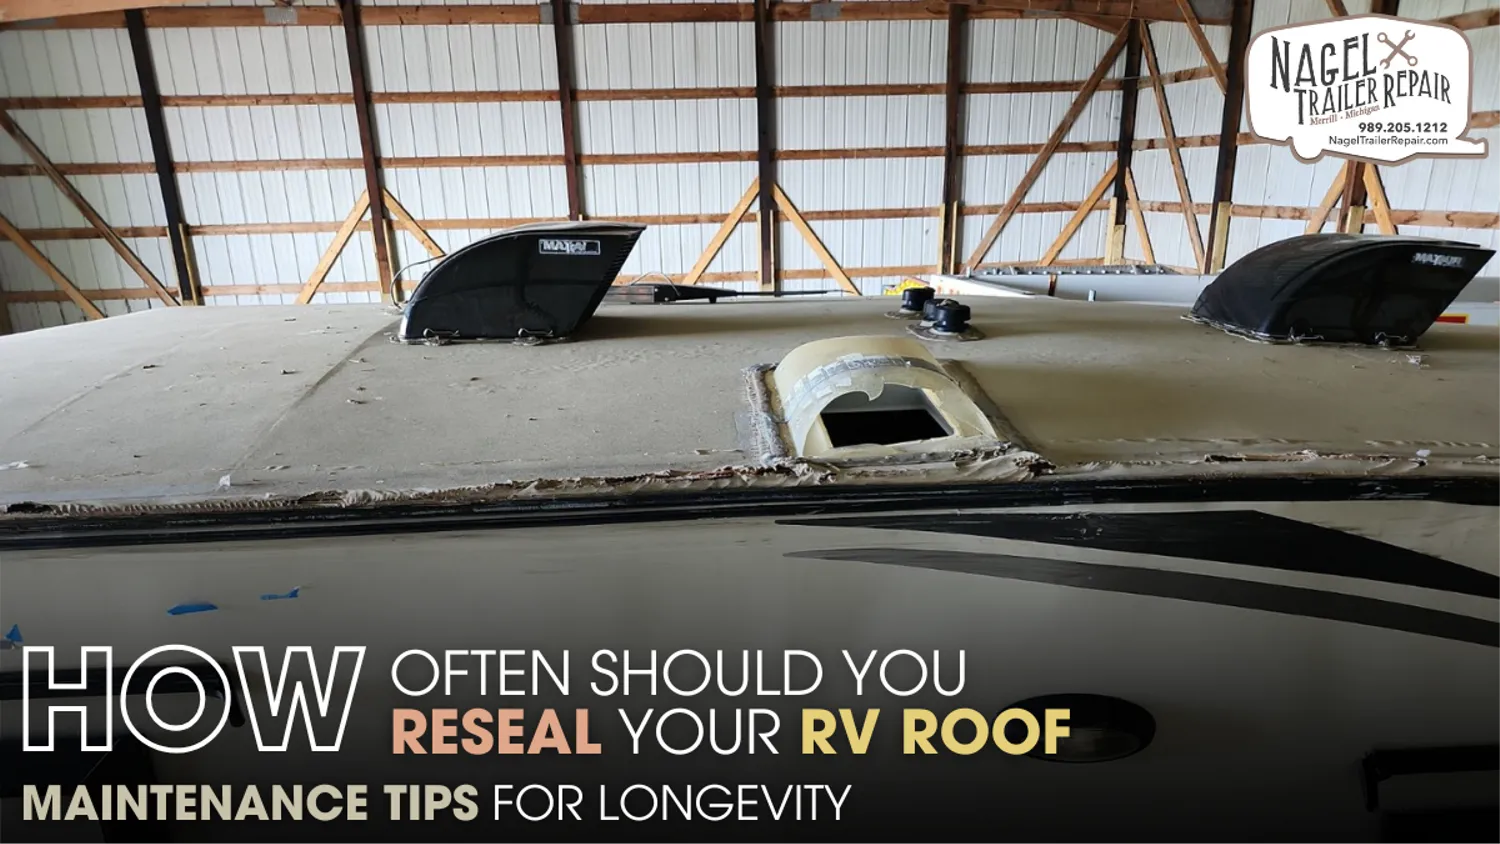
Owning an RV is an investment in adventure, but it’s also a commitment to maintenance, especially when it comes to the roof. Your RV roof is the first line of defense against the elements, protecting the interior from water leaks, UV damage, and more. One key part of maintaining an RV is ensuring the roof is properly sealed. But how often should you reseal it, and what does effective roof maintenance look like? This guide covers all you need to know to keep your RV roof in excellent condition.
Understanding the Importance of RV Roof Sealing:
Your RV roof is constantly exposed to the elements: sun, rain, wind, snow, and debris. Over time, this exposure can cause the roof to deteriorate, resulting in leaks, structural damage, and even mold issues if water finds its way inside. Sealing your RV roof is essential because it helps prevent these problems, extending the life of your RV and reducing costly repairs. Sealants create a protective layer over your roof, safeguarding it from harsh weather and environmental damage.
Sealing your RV roof isn’t just about avoiding leaks; it also enhances insulation, reduces the risk of corrosion, and minimizes wear and tear. Regular roof sealing can save thousands in repair costs, maintain your RV’s resale value, and provide peace of mind on the road. With a strong seal, your RV stays better protected, allowing you to focus on your travels rather than worrying about roof repairs.
How Often Should You Reseal Your RV Roof?
The frequency of resealing your RV roof depends on a variety of factors, including the type of roof material, how often you use your RV, and the climate in which you operate. However, a general rule of thumb is to inspect your RV roof every 6 months and reseal it every 1 to 3 years.
- Type of Roof Material: Different roof materials require different maintenance schedules. Common RV roof materials include rubber (EPDM or TPO), fiberglass, and aluminum. Each has unique needs when it comes to sealing. For example, rubber roofs, which are popular for their flexibility and durability, may require more frequent resealing than a fiberglass roof.
- Climate and Usage: Climate plays a major role in how quickly your RV roof deteriorates. If you store your RV in direct sunlight or use it frequently in harsh conditions, such as near saltwater or in snowy areas, you may need to reseal your roof more often. RVs kept in milder, shaded environments may go longer between sealings.
- Inspection Findings: Even if you have a rough timeline for resealing, always base your final decision on inspection findings. Some RV owners inspect their roofs quarterly, while others do so semi-annually. Signs of wear and tear, such as cracks, peeling, or bubbling in the sealant, indicate that it’s time to reseal.
Steps to Inspect Your RV Roof for Sealant Damage:
Inspecting your RV roof is essential to catch early signs of wear. A thorough inspection helps you spot any damage to the sealant, allowing you to address it before it becomes a significant issue.
1. Clean the Roof Surface: Start by cleaning the roof. Use an RV-safe cleaner and a soft brush to remove dirt, debris, and buildup. Avoid abrasive tools that might damage the roof material.
2. Look for Cracks and Gaps: Examine the entire roof surface, focusing on areas around seams, vents, skylights, air conditioning units, and any attachments. Cracks, gaps, or missing pieces of sealant indicate that it’s time for a reseal.
3. Check for Water Stains or Discoloration: Inside your RV, check the ceiling and walls for any signs of water intrusion, such as stains or discoloration. These can indicate an issue with the roof seal that needs immediate attention.
4. Test the Flexibility of the Sealant: Run your hand over the sealed areas to check for flexibility. Over time, sealants can become brittle, especially if they’ve been exposed to intense sunlight. Brittle or crumbling sealant needs to be replaced.
Regular inspections allow you to address minor issues before they become serious problems, helping you extend the lifespan of your RV roof and prevent leaks.
Types of Sealants for RV Roofs:
Selecting the right sealant for your RV roof is crucial, as the type you choose will affect the durability of the seal and the frequency of resealing. Here are the common sealant types used for RV roofs:
- Self-Leveling Sealant: Self-leveling sealants are designed to spread out evenly on flat surfaces. They’re ideal for roof sections around vents, skylights, and other attachments. However, they may not be suitable for vertical surfaces due to their tendency to spread.
- Non-Sag Sealant: Non-sag sealants are thick and adhere well to vertical surfaces. They work well for seams, edges, and any areas with slanted or upright surfaces. Many RV owners use a combination of self-leveling and non-sag sealants for complete coverage.
- Silicone-Based Sealant: Silicone-based sealants are popular due to their waterproofing capabilities and flexibility. They work well in areas with frequent temperature changes but can be challenging to apply evenly and may require more frequent touch-ups.
- Acrylic and Urethane Sealants: Acrylic and urethane sealants are versatile options with excellent adhesion and flexibility. They’re often used on rubber roofs and provide a good balance of durability and ease of application.
Choosing the right sealant depends on your roof type, climate, and the specific needs of your RV. It’s always a good idea to consult your RV’s manufacturer guidelines for recommendations on compatible sealants.
Step-by-Step Guide to Resealing Your RV Roof:
Resealing your RV roof is a task that can be done by most RV owners with basic tools and a bit of patience. Here’s a step-by-step guide to help you reseal your RV roof effectively:
1. Gather Your Materials: You’ll need a suitable sealant, a caulking gun, a roof cleaner, a soft brush, gloves, and a scraper for old sealant removal.
2. Clean the Roof: Use an RV-safe roof cleaner and a brush to thoroughly clean the roof surface. This step is essential for ensuring that the new sealant adheres well.
3. Remove Old or Damaged Sealant: Carefully scrape off any old, cracked, or peeling sealant. Use a plastic scraper to avoid damaging the roof surface, especially if it’s rubber.
4. Apply New Sealant: Follow the instructions on your chosen sealant. Apply the sealant in a consistent layer over seams, cracks, and any areas where previous sealant was removed. Use self-leveling sealant for horizontal surfaces and non-sag sealant for vertical areas.
5. Allow Time to Cure: Let the sealant cure according to the product instructions. Avoid using or moving your RV during the curing process to ensure a strong bond.
A properly resealed roof provides durable protection against the elements and ensures your RV stays safe and dry.
RV Roof Maintenance Tips for Longevity:
In addition to regular sealing, there are a few key practices you can follow to extend the lifespan of your RV roof.
- Clean the Roof Regularly: Keeping your roof clean prevents the buildup of dirt and debris, which can degrade the sealant and roof material over time. Clean your RV roof every 3 to 6 months, or more often if you park under trees.
- Use a Roof Cover When Not in Use: If you store your RV outdoors, invest in a quality RV roof cover. A cover protects the roof from UV rays, rain, and debris, reducing wear on the sealant and roof surface.
- Check Seams and Seals Frequently: Even if you’ve recently resealed your roof, check seams and seals every few months. UV exposure can degrade sealants over time, and catching any issues early can save you from larger repairs.
- Consider Professional Inspections: While regular DIY inspections are beneficial, consider getting a professional inspection annually. A professional can identify potential issues that may not be visible to the untrained eye.
Conclusion:
In conclusion, regular RV camper roof sealing in Michigan is essential to protect your vehicle from the unique and often harsh climate conditions. From fluctuating temperatures to heavy snowfall and rain, Michigan weather can significantly impact your RV roof's durability. The frequency of resealing your RV roof largely depends on factors like roof material, climate exposure, and usage. As a rule of thumb, inspecting your RV roof every six months and resealing every 1 to 3 years is a good practice. However, if you frequently travel or store your RV in direct sunlight or harsh environments, more frequent resealing may be necessary to prevent leaks and damage.
Routine maintenance, such as cleaning the roof, checking seals for cracks or peeling, and using a protective cover during off-seasons, can significantly extend the life of your RV roof. The type of sealant you choose—whether self-leveling, silicone-based, or acrylic—also affects durability. For best results, consult your RV manufacturer’s guidelines on compatible sealants.
Regularly sealing your RV camper roof in Michigan ensures maximum protection, preventing costly repairs and maintaining your vehicle’s value. By following a proactive inspection and resealing schedule, you’ll enjoy peace of mind knowing your RV is safeguarded against Michigan’s varied weather conditions. Investing time in routine roof care allows you to focus on enjoying your travels without worrying about unexpected leaks or damage, keeping your RV ready for adventures on the road.