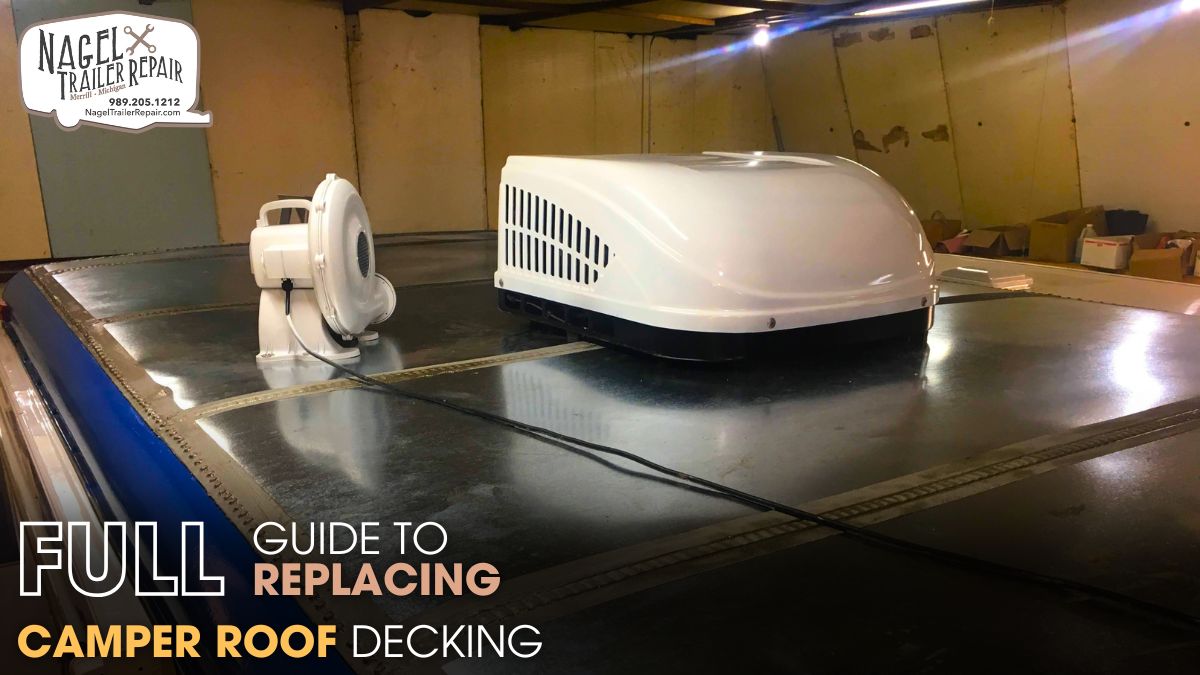
If your camper has suffered from years of exposure to rain, snow, and sunlight, chances are the roof decking has begun to deteriorate. A compromised roof deck can quickly lead to interior damage, mold, and structural issues, making replacement a critical task for any RV owner. This guide offers a thorough breakdown of how to replace your camper roof decking and what to watch out for during the process. It’s not a small job, but with some patience, precision, and the right materials, you can restore your camper roof to like-new condition and prolong the life of your vehicle.
Diagnosing Roof Deck Damage:
Before you rip into the roof, you’ll need to assess the extent of the damage. Walk on the roof and check for soft spots, sagging, or sponginess. If it flexes under your weight or if you see signs of water damage inside the camper—like staining, bubbling wallpaper, or moldy smells—it’s likely the decking underneath has rotted.
To be sure, remove interior ceiling trim panels in affected areas and shine a flashlight into the cavity. If insulation is wet or the wood appears discolored or crumbles when touched, it’s time for replacement. Many RV owners in regions with harsh seasonal changes often require complete decking overhauls, which is where Camper Roof Repair Michigan specialists often come into play due to the state’s intense freeze-thaw cycles.
Stripping the Roof:
Once you've confirmed the damage, begin by removing all rooftop components. That includes vents, skylights, AC units, antennas, and any attached solar panels. Be sure to label and safely store all hardware and connectors.
Next, strip off the old roofing membrane—whether it's rubber (EPDM/TPO) or fiberglass. This layer protects the decking underneath and will need to be removed completely to expose the wood. Be prepared for adhesive residue and stubborn staples; heat guns and scrapers will be your best friends here.
With the membrane removed, you’ll see the roof decking material—usually sheets of plywood or OSB. Rotten or water-damaged sections will look darker, feel soft, or may have already delaminated. Carefully remove these sections, making sure not to damage structural rafters or wiring.
Installing New Decking:
Now comes the critical part—installing the new decking. Choose high-quality exterior-grade plywood or marine-grade OSB, preferably in the same thickness as the original to maintain structural integrity. Lay the panels across the rafters, leaving a small gap between each for expansion due to temperature changes.
Fasten the panels using weather-resistant screws rather than nails for added strength. Keep screw heads flush with the surface to avoid future damage to the roofing membrane. If insulation underneath was damaged or removed, this is the time to replace it with moisture-resistant foam or fiberglass insulation to prevent heat loss and future condensation.
Ensure that all electrical lines, AC ducts, and vent openings are properly positioned before sealing the deck. A good tip is to dry-fit the roof components before final attachment to verify alignment. This step is often overlooked, but any misalignment here will create headaches later, especially when installing your new membrane.
Laying the New Roof Membrane:
After the new decking is secured, the next step is applying the roof membrane. For rubber roofs (EPDM or TPO), clean the surface thoroughly and then apply contact adhesive to both the decking and the underside of the membrane. Carefully roll it out, smoothing out air bubbles as you go.
Edges should be wrapped around the sides of the camper and secured with termination bars and self-leveling sealant. Reinstall the vents, AC unit, and other components using new gaskets and butyl tape to ensure a watertight seal. This is a crucial step where a lot of roof replacements fail due to improper sealing techniques.
Once complete, test for leaks using a garden hose or, ideally, a pressurized air leak test. Minor flaws in sealing can lead to expensive water damage, so don’t skip this final check. If you're not confident in the final sealing process or lack the tools to perform a leak test, many turn to professionals for peace of mind. That's where Camper Roof Repair Michigan professionals can ensure the job is watertight and long-lasting.
Cost, Time, and Final Tips:
Replacing a camper roof deck can take anywhere from 2 to 5 days depending on your experience level, the extent of the damage, and whether you're working alone. Material costs vary, but budget around $800–$1,500 for supplies including plywood, adhesives, sealants, and a new membrane.
While DIY projects like this can be satisfying and economical, mistakes can be costly. Improper installation can lead to ongoing leaks, sagging, or worse—complete roof collapse. If you’re unsure at any point, consulting a professional like those specializing in Camper Roof Repair Michigan can be a smart move.
Many RV service centers in Michigan offer partial or full roof replacements and often stock region-specific materials suited to the state’s unpredictable weather. If your camper resides in a northern climate or is parked under heavy tree cover, investing in professional-grade materials and sealing techniques can dramatically extend the life of your new roof deck.
The Role of Professional Maintenance:
Replacing a camper roof deck is a major job that demands precision, experience, and the right tools. While many RV owners attempt it themselves, there’s a steep learning curve when it comes to identifying hidden rot, properly sealing new decking, and reinstalling roof components without future leaks. A single misstep—like a poorly fastened membrane or skipped sealant—can lead to costly water damage down the line. That’s where trained eyes and seasoned hands make a difference, ensuring every screw, seam, and seal is done right the first time.
On the flip side, even a perfectly installed roof can become vulnerable over time due to climate and travel stress. RVs that sit in the sun for months develop cracked sealants. Those exposed to heavy rain or snow in colder regions face expansion and contraction cycles that weaken vent areas. Long road trips over rough terrain can shift parts slightly out of place, making roof vents especially prone to leaks. Keeping up with these changes and knowing when to reseal or realign a component can be the difference between a quick patch and full interior damage. Trusting trained technicians to monitor and address these wear factors helps protect both the roof structure and everything beneath it.
Conclusion:
Replacing a camper roof deck is not a quick fix—it demands a careful combination of technical know-how, hands-on labor, and attention to detail. But the payoff is worth it: better insulation, improved structural integrity, and a dry, comfortable space for years to come. The process begins with identifying damage, removing old materials, and installing fresh decking with precision. Laying a new membrane and resealing every joint and seam completes the task. Although it’s achievable as a DIY job, the risks of error make many RV owners consider trusted services like Camper Roof Repair Michigan to ensure quality and durability. Whether you’re a seasoned DIYer or a weekend adventurer looking to protect your investment, the right approach to roof decking replacement will keep your camper road-ready no matter what the skies throw your way.