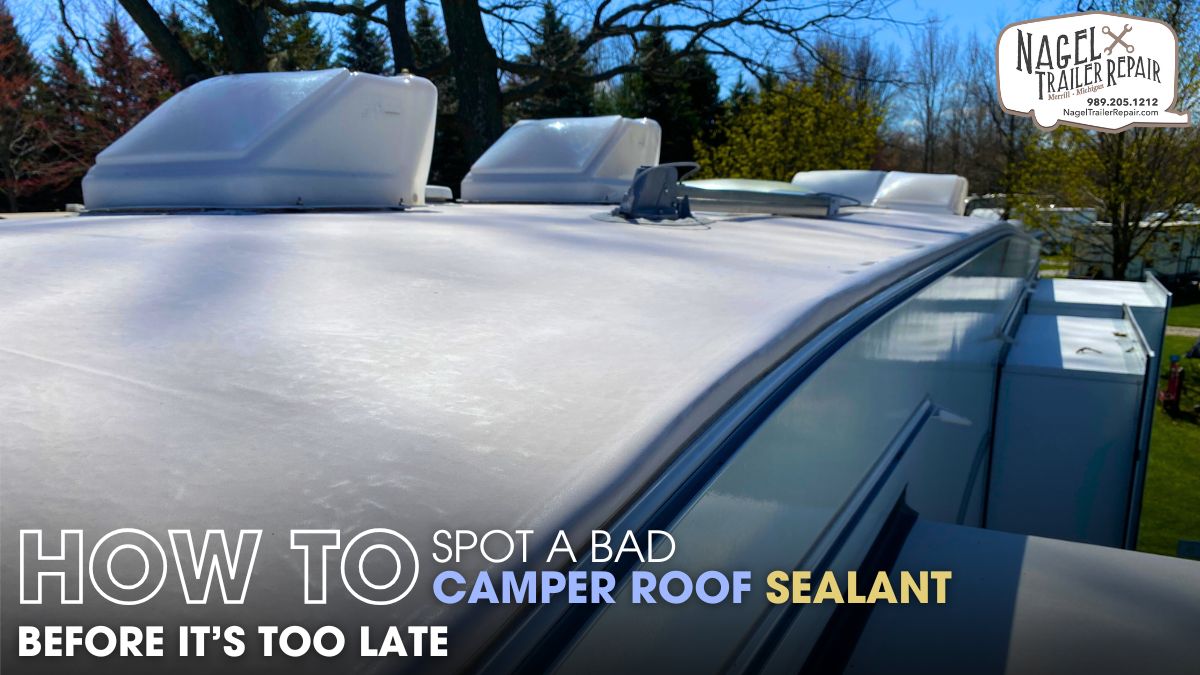
A camper roof is your first line of defense against the elements. Whether you’re traveling through rainy weather, enduring the scorching sun, or camping in a wintry landscape, your roof must remain secure and watertight. The sealant applied to your camper roof plays a critical role in ensuring this protection. However, not all sealants are created equal. Understanding how to spot a bad camper roof sealant before it leads to costly damage is essential for every camper owner.
What is Camper Roof Sealant and Why is it Important?
Camper roof sealant is a specialized material designed to create a waterproof barrier that seals gaps, seams, and potential weak points on your RV or camper roof. It protects your vehicle from water intrusion, mold, mildew, and structural damage. A good sealant ensures the longevity of your camper’s roof and interior. Conversely, a poor-quality or failing sealant compromises this protection and exposes your camper to serious risks.
Recognizing the warning signs of an ineffective sealant can save you significant repair costs and frustration. Regular inspections, coupled with a basic understanding of what constitutes a reliable sealant, are crucial.
Signs of a Bad Camper Roof Sealant
1. Cracks and Brittleness
One of the most apparent signs of a failing camper roof sealant is the presence of cracks. High-quality sealants should remain flexible and pliable even under fluctuating temperatures. When the sealant becomes brittle, it loses its ability to expand and contract with the roof, leading to cracking. These cracks allow water to seep through, causing leaks and potentially severe damage to the interior of your camper.
2. Discoloration and Fading
Discoloration or fading is another indicator of a subpar or deteriorating sealant. Prolonged exposure to UV rays can degrade lower-quality sealants, causing them to lose their original color. This discoloration often correlates with a loss of protective properties. If your sealant shows signs of bleaching or fading, it’s a warning that its effectiveness may be compromised.
3. Peeling or Lifting Edges
Sealants that begin to peel or lift away from the surface are no longer providing an adequate barrier. This issue typically arises when the sealant was improperly applied, or the surface wasn’t cleaned thoroughly before application. Additionally, inferior adhesive properties can lead to lifting over time, leaving gaps where water can enter.
4. Sticky or Tacky Texture
While fresh sealants may remain tacky for a short period during curing, a permanently sticky texture is a sign of a poor-quality product or improper application. A tacky surface not only attracts dirt and debris but also indicates that the sealant hasn’t fully cured or stabilized, reducing its durability and protective function.
5. Persistent Leaks Despite Recent Sealing
If you’ve recently applied sealant and still notice leaks, it’s likely a result of using a substandard product or improper application technique. Persistent leaks can quickly escalate into significant water damage if left unresolved. Reassessing the type of sealant used and ensuring proper reapplication is critical.
Common Causes of Sealant Failure:
1. Poor Quality Sealant
Not all camper roof sealants are made equal. Some products on the market claim to offer long-lasting protection but fail to deliver. Opting for cheap or generic sealants can result in inadequate protection, leading to frequent repairs and replacements.
2. Incorrect Application
Even the best sealant will fail if applied incorrectly. Factors such as an unclean surface, applying sealant in extreme temperatures, or failing to follow manufacturer instructions can all contribute to sealant failure.
3. Aging and Weather Exposure
Over time, even high-quality sealants can degrade due to exposure to harsh weather conditions. UV rays, rain, snow, and temperature fluctuations take a toll on sealants, breaking down their structural integrity.
4. Incompatible Materials
Using a sealant that isn’t compatible with your camper roof’s material can lead to poor adhesion and eventual failure. Always check the manufacturer’s recommendations to ensure compatibility with your roof type, whether it’s rubber, fiberglass, or metal.
How to Inspect Your Camper Roof Sealant?
A. Conduct Visual Inspections
Regularly inspecting your camper roof sealant is the first step in identifying potential issues. Look for cracks, peeling, discoloration, or any gaps in the sealant. Pay close attention to seams, vents, and around any rooftop fixtures where leaks are most likely to occur.
B. Test for Flexibility
A good camper roof sealant should remain flexible. Using a small tool or your fingers, gently press on the sealant. If it feels hard, brittle, or crumbles under pressure, it’s time for a replacement.
C. Monitor for Leaks
After heavy rain or a car wash, check the interior of your camper for any signs of water intrusion. Even a small drip can indicate sealant failure and should be addressed promptly to prevent further damage.
D. Evaluate UV Protection
Inspect the sealant’s surface for signs of UV damage. A chalky residue or noticeable fading can signal that the sealant’s UV resistance has deteriorated, leaving your camper roof vulnerable.
Choosing the Right Camper Roof Sealant:
Selecting a high-quality sealant is essential to avoid the pitfalls of poor performance. Look for sealants specifically designed for RV or camper roofs, as they’re formulated to withstand weather extremes and provide durable protection. Key features to consider include:
- UV Resistance: Protects against sun damage and extends the sealant’s lifespan.
- Waterproofing: Ensures a strong barrier against leaks.
- Flexibility: Adapts to temperature changes without cracking.
- Compatibility: Matches your camper roof’s material for optimal adhesion.
How to Apply Camper Roof Sealant Correctly?
- Clean the Surface: Before applying sealant, thoroughly clean the surface to remove dirt, grease, and debris. A clean surface ensures better adhesion and prevents premature failure.
- Choose the Right Weather Conditions: Apply the sealant in moderate weather, ideally between 50°F and 70°F. Avoid extreme heat or cold, as these conditions can affect curing and performance.
- Follow the Instructions: Carefully read and follow the manufacturer’s instructions for application. Pay attention to curing times and recommended thickness for optimal results.
- Check Your Work: After applying the sealant, inspect the area to ensure complete coverage and proper adhesion. Allow ample time for the sealant to cure before exposing it to water or heavy use.
Conclusion:
A bad camper roof sealant can turn your dream adventure into a costly nightmare. By understanding the warning signs, such as cracks, discoloration, peeling, and persistent leaks, you can take proactive steps to address sealant issues before they escalate. Regular inspections and choosing high-quality, compatible sealants are vital to protecting your camper from water damage and structural deterioration.
For camper owners in the Great Lakes State, timely Camper Roof Repair Michigan services can help ensure that your roof remains in top condition, even in challenging weather. Professional repair services provide peace of mind, allowing you to focus on enjoying your travels without the worry of leaks or damage.
Your camper is more than just a vehicle; it’s your gateway to adventure. Don’t let something as preventable as a bad roof sealant compromise your journey. Take action today to safeguard your investment and ensure your camper’s roof remains strong and secure for years to come.