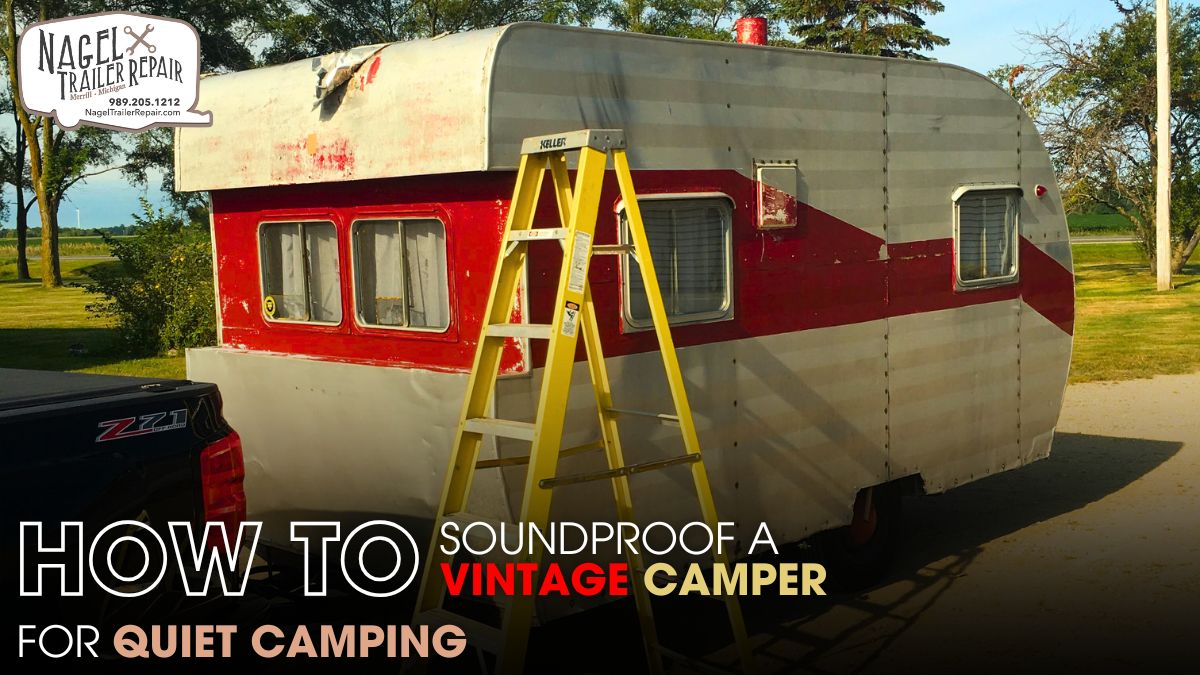
For anyone who owns a vintage camper, one of the more overlooked upgrades is soundproofing. When you're parked at a bustling campground, alongside a busy road, or even just camping in a breezy area, every little sound can travel through your thin camper walls. That’s where soundproofing becomes essential—not only for comfort but also for privacy.
In this comprehensive guide, we’ll explore exactly how to soundproof your vintage camper to ensure a quiet and restful camping experience. Whether you're doing it yourself or hiring pros like those offering Vintage Camper Repair Michigan, this article will walk you through every important step.
Why Vintage Campers Are So Noisy?
Unlike modern RVs, vintage campers were not built with today’s insulation materials or sound-dampening technologies. Most were constructed using lightweight wood, aluminum, and a thin layer of insulation—if any. Over time, as these materials age and degrade, sound penetration only gets worse. Road noise, generator hum, and campsite chatter can all disrupt sleep and relaxation.
Soundproofing a vintage camper isn’t just about throwing up some foam panels. It involves a technical approach that starts with understanding how sound enters and travels within the structure. The two main pathways are airborne noise and structure-borne noise. Airborne noise comes through windows, vents, and doors, while structure-borne noise travels through walls, floors, and the frame itself.
Step 1: Inspect and Seal All Entry Points
Before investing in any soundproofing material, the first step is to locate and seal all potential sound leaks. Gaps around windows, doors, plumbing lines, and even electrical inlets can act like megaphones for outside sound.
Start by removing old weather stripping and replacing it with new, high-density weather seals. Use acoustic caulk to seal around window frames, door jambs, and electrical openings. While sealing these gaps, be on the lookout for damage or rot, which should be handled through professional Vintage Camper Repair Michigan services if it goes beyond your capabilities.
Step 2: Add Mass to the Walls and Ceiling
In soundproofing, one of the core principles is “mass equals quiet.” Thin camper walls are prime culprits for allowing noise through. Adding mass-loaded vinyl (MLV) to walls and ceilings can dramatically reduce sound transmission. MLV is a dense yet flexible material that’s perfect for retrofitting into older campers.
To apply, you’ll need to remove the interior paneling of the camper. This is a delicate process, especially in vintage models where trim and panels may be brittle. Once removed, apply the MLV directly to the inner wall structure, using a combination of adhesive and screws. Make sure seams are overlapped and sealed with acoustical tape to avoid leakage.
If you're unsure about dismantling panels or risk damaging a structurally compromised wall, it’s best to get professional advice from Vintage Camper Repair Michigan specialists who deal with these kinds of delicate interiors regularly.
Step 3: Upgrade Floor Insulation
The floor of your camper is another weak point in your soundproofing plan. Road noise, tire sounds, and even mechanical vibrations from towing can all transfer through the floor.
To address this, lift your flooring if possible and install a layer of closed-cell foam insulation or acoustic underlayment beneath it. Materials like EVA foam or recycled rubber mats are highly effective at absorbing vibrations and noise. For a fully sealed effect, add MLV over the insulation and then reinstall your flooring.
If your floor is already worn or deteriorated, pairing a soundproofing upgrade with a floor restoration job is ideal. Companies specializing in Vintage Camper Repair Michigan can often combine these two upgrades into a single service, saving time and cost.
Step 4: Soundproof the Doors and Windows
Doors and windows are among the most vulnerable components of your camper when it comes to sound entry. Many vintage camper doors are hollow-core or thin aluminum, and windows often feature single-pane glass.
For the doors, consider installing a soundproofing door sweep and adding a sound barrier pad to the interior side. You can also add a thin layer of acoustic foam between the door and the decorative panel. If the door itself is too thin, it might be worth reinforcing it with a sandwich of MDF and MLV.
Window soundproofing can be done in several ways:
- Replace single-pane glass with laminated double-pane inserts.
- Use heavy thermal curtains or blackout drapes.
- Install acrylic magnetic window inserts that can be removed when not needed.
These steps will go a long way in muffling outside noise, but they must be installed carefully to avoid damage to the original frame—yet another reason to consult with Vintage Camper Repair Michigan professionals if you're unsure about your vintage model's window integrity.
Step 5: Address the Ventilation System
Your roof vents and fan systems are often overlooked during a soundproofing overhaul. These are large openings that not only let air through but also carry sound in and out.
If your camper has a standard roof vent, consider replacing it with a noise-reducing model that has a built-in cover and insulation lining. You can also install an aftermarket vent silencer kit or even custom-build one using foam and mesh. Remember to allow for proper air circulation; never completely seal off a vent.
Modern fans like the Maxxair or Fantastic Fan often come with better insulation and rubber seals. Upgrading your fan unit can therefore serve dual purposes—better airflow and less noise.
Companies providing Vintage Camper Repair Michigan often carry retrofit kits for modernizing ventilation systems, which can streamline your soundproofing process without losing functionality.
Step 6: Don’t Forget the Wheel Wells and Undercarriage
Another often-neglected area is the wheel wells. These sections directly transmit road noise into your camper. Insulating them requires accessing the inner fender and adding soundproofing material.
Use a combination of butyl-based sound deadening mats and foam insulation around the wells. The undercarriage can also be coated with automotive sound-deadening spray or mats designed for vehicle use. This will further dampen vibrations and reduce echoing noises caused by gravel, debris, or tire hum.
You may need to lift or jack your trailer to reach these areas safely. For owners unfamiliar with this type of work, Vintage Camper Repair Michigan technicians can provide both safety and precision.
Step 7: Interior Decor That Enhances Soundproofing
After you’ve completed the technical installations, you can enhance the soundproofing even more through smart interior design. Heavy curtains, area rugs, padded wall panels, and plush upholstery all help absorb sound and prevent echo.
Consider using fabric-covered wall panels over key reflective surfaces like ceilings and large wall areas. Not only does this improve the acoustic environment, but it can also match the aesthetic charm of your vintage camper’s retro interior.
Many Vintage Camper Repair Michigan shops offer interior customization services where you can choose sound-absorbing fabrics and cushions that reflect your style while improving functionality.
Step 8: Test and Adjust for Maximum Quietness
Once your soundproofing project is complete, it's essential to test the results. Try camping overnight in a normally noisy location or near a highway. Take note of sound leaks or vibrations and be prepared to make small adjustments.
Sometimes it’s just a matter of repositioning a door sweep, replacing a misaligned vent seal, or adding more insulation to the floor. If all else fails, a detailed inspection by a Vintage Camper Repair Michigan specialist can help identify problem areas you may have missed.
The Role of Professional Maintenance:
Soundproofing a vintage camper isn’t just about comfort—it’s about reclaiming peace during your travels. Road noise, campground chatter, and wind can easily seep through thin walls, old doors, and single-pane windows. Professional maintenance ensures proper sealing of gaps, installation of mass-loaded vinyl, and upgrades like soundproof vent fans. These technical improvements reduce noise drastically without compromising your camper’s vintage charm.
On the flip side, restoring chrome and aluminum trim revives the nostalgic look that makes vintage campers unique. Oxidation, pitting, and fading can ruin the aesthetic appeal if left untreated. Experts use proper polishing techniques, protective sealants, and know how to avoid damaging delicate metal finishes.
The right maintenance plan not only quiets your ride but also polishes it to perfection—inside and out. Whether you're enhancing comfort through soundproofing or restoring shine to aging trim, trusted professionals bring experience, tools, and attention to detail that make a lasting difference in your vintage camper’s longevity and value.
Conclusion:
Soundproofing your vintage camper isn’t just about reducing noise—it's about transforming your travel experience. From sealing air gaps to upgrading floors, walls, and doors, every layer you add contributes to a quieter, more peaceful environment on the road or at your campsite. While it can be a technical and sometimes labor-intensive project, the results are well worth it. A quiet camper means better sleep, more privacy, and an overall sense of serenity that enhances every journey.
And when in doubt, remember that professionals offering Vintage Camper Repair Michigan are equipped to handle both the structural and cosmetic aspects of this transformation. With the right approach and materials, your beloved vintage camper can be just as quiet—and comfortable—as any modern rig. So go ahead, invest the time and care, and enjoy the kind of quiet camping that truly recharges the soul.