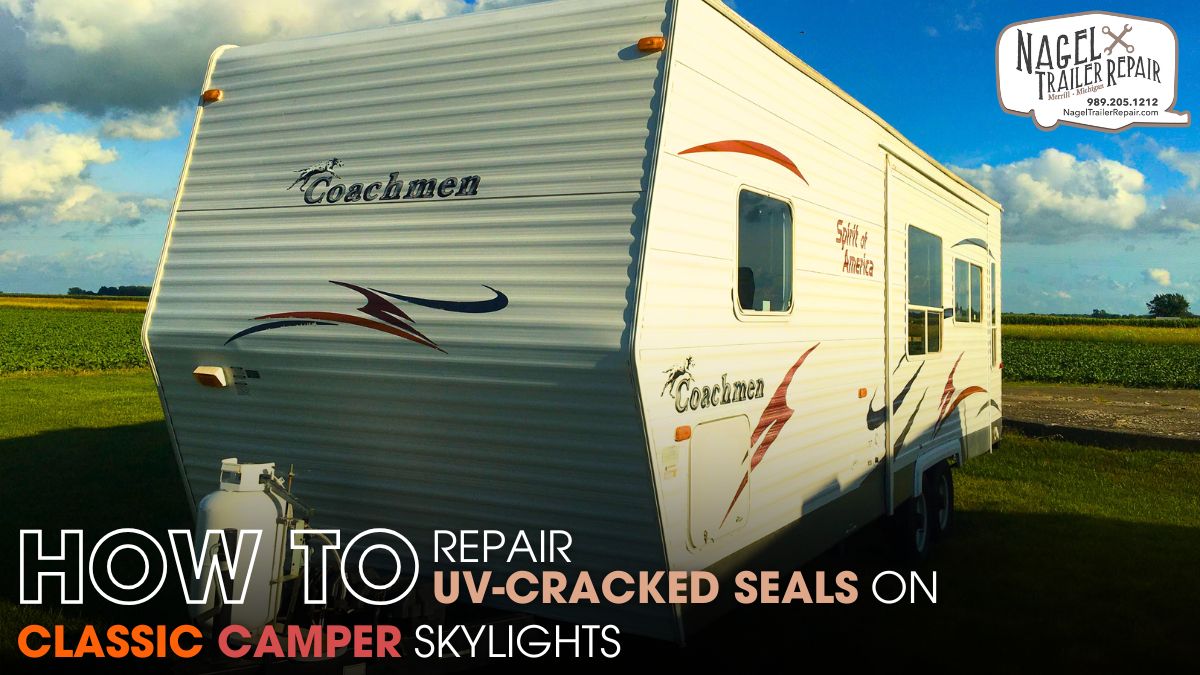
Classic campers offer a charming blend of nostalgia and functionality, but their age also brings unique maintenance challenges. One of the most common issues faced by vintage RV owners is UV damage to the skylight seals. Prolonged exposure to sunlight and changing weather conditions can lead to seal deterioration, resulting in leaks, heat loss, and interior water damage.
Proper repair of these UV-cracked seals is essential not just for comfort, but also for preserving the integrity of your camper. If you own a vintage rig, learning how to address this problem can save you hundreds in future repairs and extend the life of your vehicle.
In this guide, we’ll walk you through the step-by-step process of diagnosing, removing, and repairing damaged seals—while highlighting how professional help from Classic Camper Repair Michigan can make a difference when needed.
Understanding the Impact of UV on Skylight Seals:
Skylights in classic campers are particularly vulnerable to UV exposure because of their position on the roof. Direct sunlight, particularly over years of use, breaks down the flexible materials that form the watertight seal around the skylight. As the seals become brittle and begin to crack, water infiltration becomes inevitable. Cracked seals also compromise insulation, allowing temperature fluctuations to affect the interior climate.
Left unchecked, this can result in mold growth, wood rot, and ceiling panel warping. Understanding the importance of seal integrity helps explain why immediate attention is necessary for any camper roof restoration effort. It also illustrates why professionals like those at Classic Camper Repair Michigan put such a strong emphasis on skylight inspection and seal maintenance.
Diagnosing Seal Damage on Your Classic Camper Skylight:
The first step in the repair process is diagnosis. Symptoms of cracked or failing skylight seals include visible cracking, yellowing, flaking rubber, and water stains near the ceiling. On rainy days, small leaks may be noticed, which often originate from around the skylight housing.
Carefully inspect the skylight from both the inside and outside of the camper. Gently press around the seal with a gloved finger; if it crumbles or breaks off, it's time for replacement. Take photos for reference so you can review the damage or share them with a Classic Camper Repair Michigan technician if you decide to seek professional help.
Choosing the Right Sealant and Tools:
Once you’ve determined the seals need replacing, you must choose the proper products for the job. The two main options for sealant are silicone and butyl rubber. While silicone is easier to apply, it doesn't adhere well to aged surfaces and may peel over time. Butyl rubber, on the other hand, remains pliable longer and bonds strongly to camper roofs and plastic skylight frames.
It’s also compatible with EPDM and TPO roofing materials. You’ll also need a plastic putty knife, sealant remover, clean rags, isopropyl alcohol, gloves, and a caulking gun. These tools help ensure an efficient and safe process. Technicians at Classic Camper Repair Michigan typically recommend butyl tape and UV-resistant coatings for optimal longevity in Michigan’s diverse climate.
Removing the Old, Cracked Seals:
The next step is to remove the old, UV-damaged seals. Begin by cleaning the area around the skylight with soapy water and drying it completely. Then, use a plastic putty knife to gently lift the old sealant, working your way around the perimeter. Avoid using metal tools as they may scratch the skylight or the roof. Once most of the seal is removed, apply a sealant remover to the remaining residue.
After waiting the recommended dwell time, wipe the surface clean with isopropyl alcohol to ensure maximum adhesion for the new sealant. This labor-intensive process is crucial. Many first-time DIYers overlook residue removal, leading to premature seal failure—a mistake the experts at Classic Camper Repair Michigan always avoid.
Installing New UV-Resistant Seals:
With the surface prepped, it’s time to install the new seals. If you’re using butyl tape, press it firmly around the skylight frame, ensuring continuous contact with the roof. Avoid stretching the tape, as it can thin out and leave gaps. Once the tape is in place, reinstall the skylight or its frame if it was removed. Apply a thin, even bead of compatible sealant over the tape’s edge to further prevent moisture intrusion.
Smooth the bead with a gloved finger or plastic applicator. Allow it to cure according to manufacturer recommendations—typically 24 to 48 hours. To ensure the job is done right, Classic Camper Repair Michigan often applies a UV-protective topcoat to the cured sealant, adding extra durability and weather resistance.
Performing a Leak Test:
After curing, a leak test is essential to confirm the success of your repair. Using a garden hose or a low-pressure water source, lightly spray the area around the skylight. Do this while someone inside the camper monitors for leaks or water intrusion. Be sure to check the corners and edges of the skylight where water is most likely to penetrate.
If leaks persist, you may need to reapply sealant in the affected area. Patience is key here; rushing this step can undermine the entire repair. If you’re unsure of your results or lack the time to retest, consider contacting Classic Camper Repair Michigan for a professional evaluation using their pressurized leak detection methods.
Preventative Maintenance for Skylight Seals:
Even after a successful repair, continued maintenance is essential for long-term performance. Inspect the skylight seals at least twice a year, preferably in the spring and fall. Look for early signs of UV damage, such as minor discoloration or small hairline cracks. Clean the area periodically to prevent debris accumulation, which can trap moisture and accelerate decay.
Applying a UV-blocking protectant every six months can extend the life of your seals. Preventative steps like these not only save time and money but also preserve your camper’s original features—a goal that specialists at Classic Camper Repair Michigan prioritize when servicing vintage rigs.
When to Seek Professional Skylight Seal Repair ?
While many camper owners feel confident performing minor repairs, there are times when professional help is advisable. If the skylight frame itself is warped or cracked, or if rot is found in the roof deck beneath it, repairs can quickly exceed DIY capabilities. Likewise, if you’ve previously attempted repairs that failed, underlying structural issues may be to blame. In these cases, a comprehensive assessment is needed.
That’s where Classic Camper Repair Michigan can step in. With expertise in vintage camper architecture and materials, their team can diagnose hidden problems, perform expert resealing, and even fabricate replacement components that match the original design.
The Value of Preserving Classic Campers:
Vintage campers are more than just recreational vehicles; they’re rolling pieces of Americana. Preserving their original details, such as skylights, cabinetry, and framing, enhances both their resale value and historical charm. Repairing a skylight seal might seem like a small job, but it's a key component of overall camper restoration.
Overlooking seal damage can result in costly interior repairs or irreversible damage to vintage materials. That’s why many restoration enthusiasts rely on experts like Classic Camper Repair Michigan to help preserve the originality and functionality of their rigs. Whether you're aiming for show-quality restoration or long-term travel reliability, attention to details like skylight sealing makes all the difference.
The Role of Professional Maintenance:
When it comes to preserving the longevity of your classic camper or trailer, professional maintenance plays a crucial role. For example, repairing UV-cracked seals on classic camper skylights involves more than just replacing a damaged seal. It requires expertise in selecting the right materials, ensuring proper adhesion, and testing for leaks. DIY attempts can often lead to subpar results, compromising the integrity of your camper. Professional maintenance ensures that these critical repairs are done right, preventing future leaks and damage.
Similarly, restoring your classic trailer’s chassis and frame is vital for stability and safety. Over time, wear and tear can weaken the chassis, leading to issues with towing and overall handling. Experts know how to assess structural damage, replace or reinforce components, and ensure that your trailer remains stable on the road. Trusting professionals with these tasks guarantees a reliable and safe ride for many years.
Conclusion:
Repairing UV-cracked skylight seals is a critical part of maintaining your classic camper. From diagnosis and product selection to removal and resealing, each step plays a role in protecting your camper’s structure and comfort. Regular inspection, the use of quality materials, and understanding the sealing process help ensure your skylight remains watertight and UV-resistant.
If you're new to camper maintenance or feel overwhelmed by the scope of the repair, professionals like Classic Camper Repair Michigan are equipped with the tools, knowledge, and experience to complete the task correctly.
Their understanding of vintage camper construction and dedication to detail make them a valuable partner in your restoration journey. With the right approach and attention to preventative maintenance, your classic camper skylight can be restored to its original glory, ready for many more road trips under the open sky