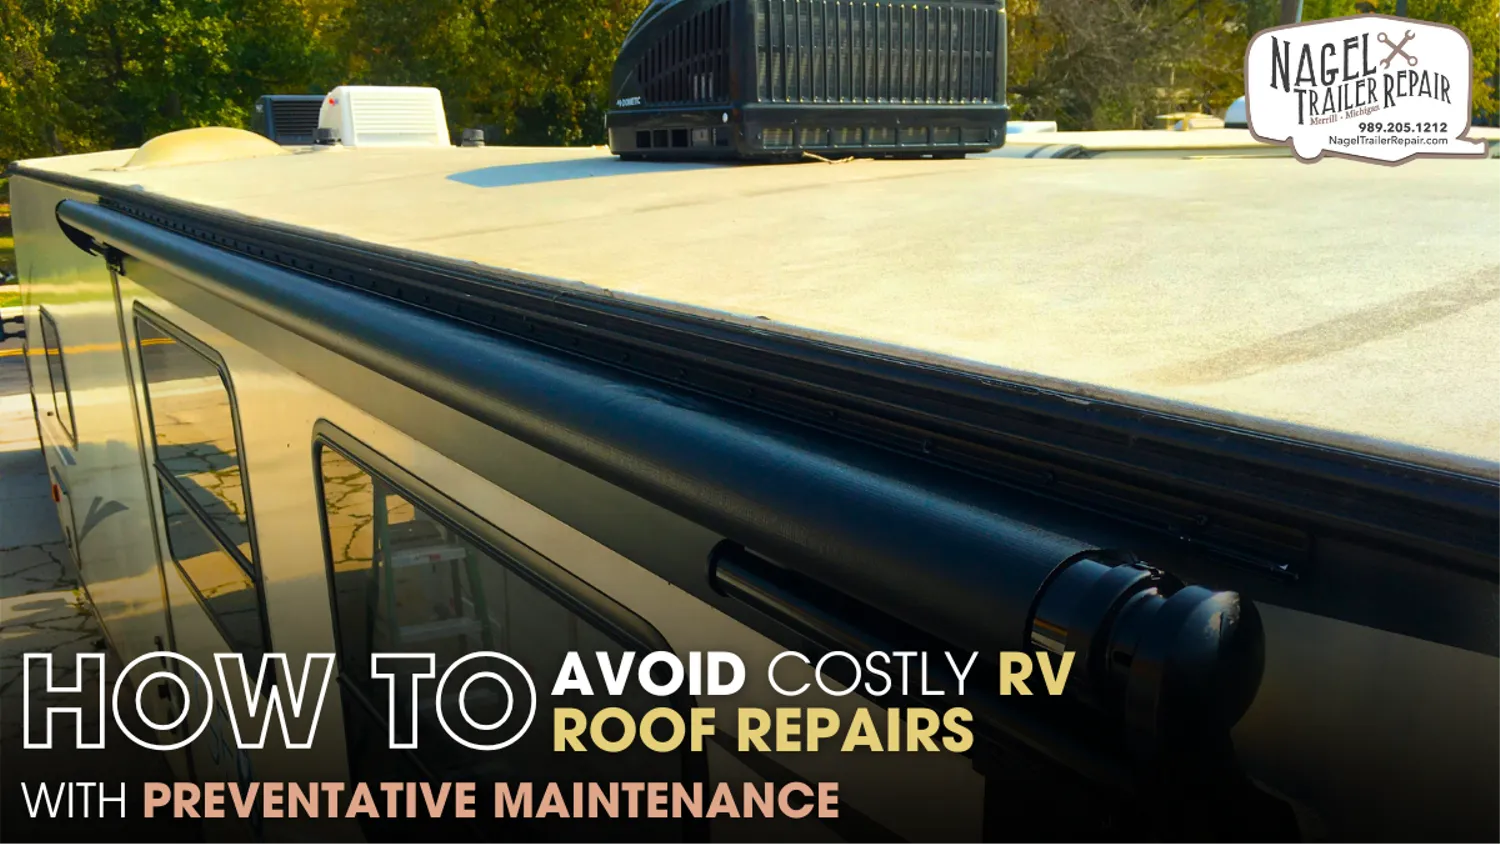
RV ownership is a rewarding adventure that offers the freedom to travel and enjoy the open road. However, it also comes with responsibilities, especially when it comes to keeping the roof in top shape. Your RV roof is constantly exposed to the elements, which makes it vulnerable to wear and tear. Without proper maintenance, small issues can quickly escalate into costly repairs.
In this guide, we’ll explore effective preventative maintenance practices to help you avoid expensive roof repairs. By following these steps, you’ll ensure your RV roof stays durable, reliable, and ready for the next adventure.
Understanding the Importance of RV Roof Maintenance:
The roof of your RV is one of its most critical components. It protects you from harsh weather, shields the interior from water damage, and preserves the integrity of the RV structure. Yet, because the roof isn’t as visible, it’s easy to neglect regular maintenance.
If left unchecked, minor issues like cracks, leaks, or seam damage can worsen over time. Water leaks, for instance, are notorious for causing severe structural damage, leading to mold, mildew, and even frame rot. Regular preventative maintenance is a proactive approach to catch these issues early, saving you from costly and time-consuming repairs.
Types of RV Roof Materials and Why They Matter:
Before diving into maintenance tips, it’s essential to understand the material of your RV roof. Different materials require specific care and maintenance.
A. Rubber (EPDM or TPO)
Most modern RVs come with rubber roofs, made from either EPDM (Ethylene Propylene Diene Monomer) or TPO (Thermoplastic Olefin). Rubber roofs are lightweight, affordable, and offer good insulation. However, they can be prone to damage from UV exposure, cracking, and tearing.
B. Fiberglass
Fiberglass roofs are durable, resistant to UV rays, and low maintenance. However, they’re heavier and more expensive than rubber roofs. They’re also vulnerable to cracking if subjected to heavy impacts.
C. Aluminum
Aluminum roofs are durable and lightweight but require careful sealing of seams to prevent leaks. They’re also more prone to denting and heat buildup, making them less energy-efficient in warm climates.
Each of these materials has unique maintenance requirements. Ensuring that you understand your RV’s specific roof type will guide you in choosing the right cleaning products and maintenance practices.
Routine Cleaning and Inspection: The Foundation of Roof Maintenance
One of the simplest yet most effective maintenance practices is routine cleaning and inspection. This should be done at least twice a year, but more frequently if you travel through areas with heavy foliage, dust, or pollen.
Step 1: Start with a Thorough Cleaning
To clean your RV roof, choose a cleaner designed for your roof material. Avoid harsh chemicals or abrasive tools that may damage the roof. Use a soft brush or mop to gently scrub away dirt, debris, and stains. Regular cleaning helps you spot any issues, such as small cracks, holes, or weak spots, that might be hidden under layers of grime.
Step 2: Inspect for Cracks, Holes, and Leaks
After cleaning, inspect every inch of the roof. Look for signs of wear, such as cracks, small holes, and seam damage. Pay close attention to areas around vents, AC units, and any other protrusions where leaks are more likely to occur. Use a flashlight to examine darker areas, and if you suspect a leak, pour a small amount of water over the area to test for seepage.
Sealing and Resealing Seams: Protecting the Roof’s Vulnerable Points
Seams and joints on an RV roof are weak points prone to leaks. To prevent moisture intrusion, it’s crucial to reseal these areas regularly.
Step 1: Use a High-Quality RV Roof Sealant
Choose a sealant that’s compatible with your roof material. For rubber roofs, consider a self-leveling sealant that spreads evenly. Fiberglass and aluminum roofs may require a different type of sealant, so consult your manufacturer’s recommendations.
Step 2: Apply the Sealant to Seams and Protrusions
Begin by applying the sealant to roof seams, around vents, antennas, and other roof fixtures. Use a steady hand to ensure the sealant is spread evenly and covers potential gaps. Pay attention to previously sealed areas, as old sealant can degrade over time, reducing its effectiveness.
Step 3: Schedule Regular Resealing
Even with a high-quality sealant, exposure to sunlight and weather conditions will eventually wear it down. Set a schedule to reseal seams and joints every year or two. Doing so will help you prevent moisture intrusion, a leading cause of costly repairs.
UV Protection: Guarding Against Sun Damage
The sun’s UV rays are a constant threat to RV roofs, particularly those made from rubber or fiberglass. UV exposure can cause material degradation, leading to cracking and loss of flexibility.
Step 1: Use UV-Protective Coatings
Many RV roof coatings are available with UV protection. Applying a layer of this coating can provide an additional barrier against the sun, extending the roof’s lifespan. Be sure to choose a coating designed for your specific roof material.
Step 2: Park in Shade When Possible
When storing your RV, try to park it in shaded areas or use a high-quality RV cover to shield it from the sun. This simple step can help reduce UV damage and keep your roof in better condition.
Step 3: Apply the Coating Regularly
Much like sealant, UV coatings wear off over time. It’s recommended to reapply UV-protective coatings every couple of years, or more often in sunny climates. Regular application will help your roof remain resilient against the elements.
Keeping Roof Fixtures in Good Condition:
Your RV roof likely has various fixtures, such as AC units, vents, and antennas, all of which require special care. Damaged or improperly sealed fixtures are common sources of leaks.
Step 1: Inspect and Tighten Fixture Mounts
Fixtures can loosen over time, especially after long road trips. Periodically check that all screws, bolts, and mounts are tight and secure. This simple step can prevent water from seeping in around these areas.
Step 2: Check for Cracks or Warping in the Seals
Inspect the seals around each fixture. If you notice cracks or signs of warping, remove the old sealant, clean the area, and apply a fresh layer. Maintaining secure seals around roof fixtures will reduce the risk of water infiltration.
Seasonal Maintenance: Preparing Your RV Roof for Weather Changes
Seasonal changes bring different weather conditions, each posing unique challenges to your RV roof. Preparing your roof accordingly is crucial for preventative maintenance.
Winterization
Winter can be particularly harsh on RV roofs, as snow, ice, and freezing temperatures can cause cracking and expansion damage. Before winter, thoroughly clean and inspect the roof, and apply a protective coating if needed. Ensure that all seams are tightly sealed and consider using an RV cover to protect against snow and ice.
Preparing for Rainy Seasons
For regions with heavy rainfall, focus on inspecting the roof for leaks, even small ones. Heavy rain can quickly exploit tiny cracks, leading to major leaks. Additionally, clear any debris from the roof and check the sealant to ensure your RV is rain-ready.
Professional Inspections: When to Call an Expert
While DIY maintenance can handle most preventative care, some issues require the expertise of a professional. If you notice extensive damage, persistent leaks, or you’re unsure how to address a problem, consulting a professional is the best course of action.
Annual professional inspections can also provide peace of mind. An experienced technician can spot issues you might miss, ensuring your RV roof is in optimal condition for the year ahead.
Benefits of Preventative RV Roof Maintenance:
The benefits of a proactive maintenance approach extend beyond just financial savings. Proper roof maintenance protects the overall value of your RV, ensures a safer travel experience, and prevents sudden interruptions to your plans due to unexpected roof problems. By investing in regular care, you can enjoy the open road with confidence and peace of mind.
Conclusion:
In summary, taking a proactive approach to RV roof care can save significant time and expense over the lifespan of your vehicle. Preventative maintenance—such as regular cleaning, routine inspections, seam resealing, and UV protection—not only helps you avoid costly repairs but also enhances the durability and reliability of your RV roof. These simple yet effective steps keep water damage, leaks, and structural issues at bay, ensuring your RV remains safe and comfortable for every journey.
For RV owners in Michigan, where seasonal weather can range from hot summers to harsh winters, consistent roof maintenance is even more critical. The varying weather conditions can accelerate roof wear, making it essential to inspect your roof regularly, especially before and after extreme seasons. Regularly applying sealants and UV coatings and checking for cracks around fixtures can make a considerable difference in preserving the integrity of your roof. For those who may not feel comfortable handling roof care themselves or who suspect larger issues, it’s worth seeking professional assistance. An expert in RV camper roof repair in Michigan can provide detailed inspections and advanced repair techniques to protect your investment.
By integrating these preventative maintenance practices into your routine, you’re not only securing your RV roof but also ensuring that your adventures remain uninterrupted and stress-free. With diligent care and timely inspections, you can avoid unexpected repair costs and enjoy the peace of mind that your RV roof is prepared to withstand Michigan's weather all year round.