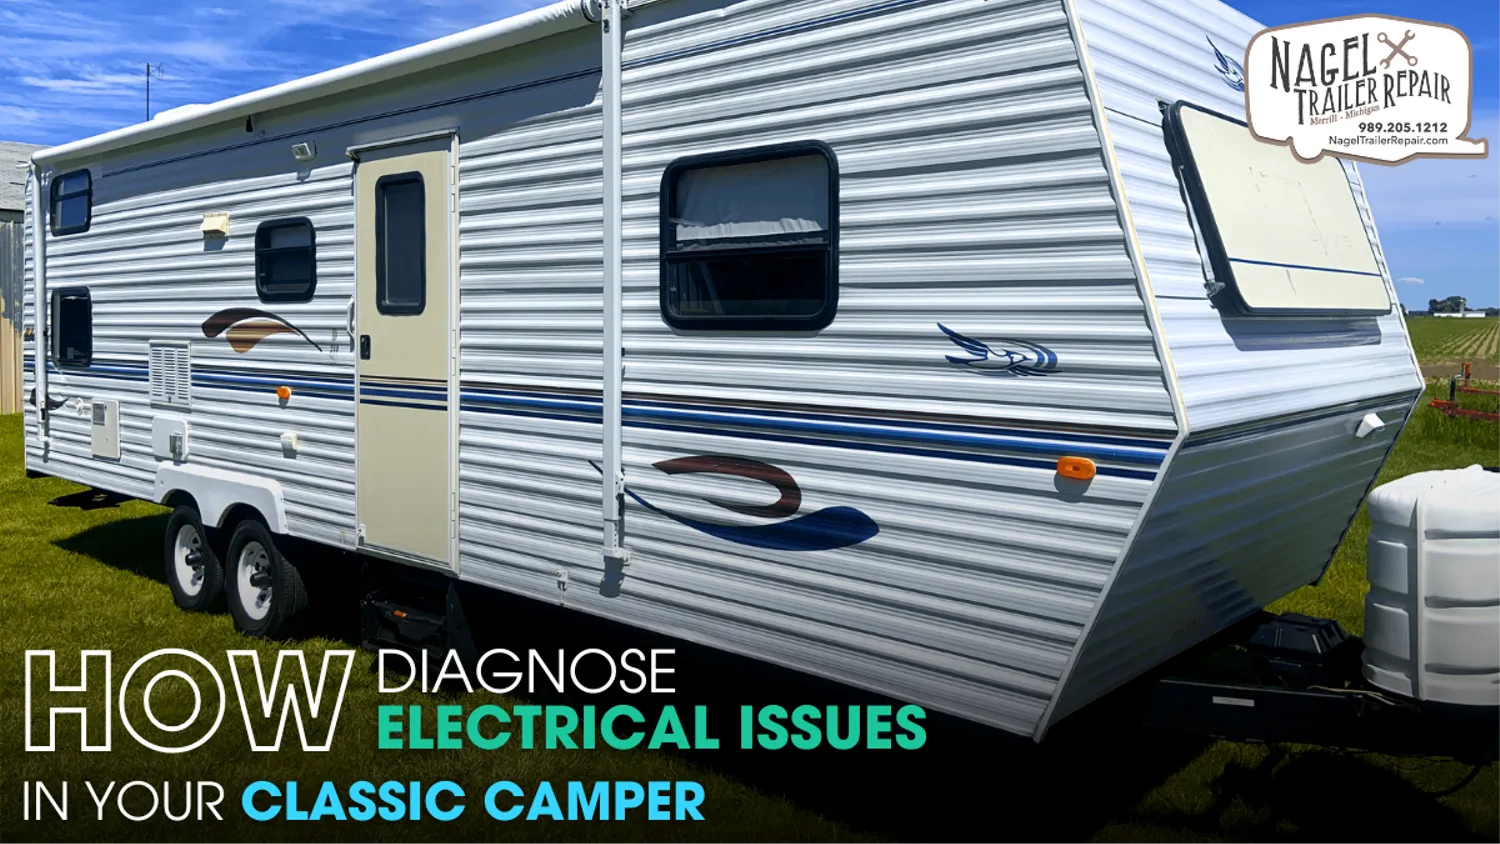
Owning a classic camper is a rewarding experience that allows you to explore the outdoors while traveling in a nostalgic piece of history. However, like any vintage vehicle, classic campers come with their fair share of challenges, especially when it comes to the electrical system. Aging wires, outdated components, and decades of wear and tear can lead to various electrical issues. But don't worry! With a bit of knowledge and the right tools, you can diagnose and fix these issues yourself.
In this guide, we'll walk you through the process of diagnosing electrical problems in your classic camper, covering everything from understanding the basics of your camper’s electrical system to troubleshooting common issues. Let’s dive in!
Understanding the Basics of a Classic Camper Electrical System:
Before you start diagnosing electrical problems, it’s important to understand how your classic camper’s electrical system works. Classic campers generally have two electrical systems:
- 12-Volt DC System: This system powers the lights, water pump, fans, and other low-voltage appliances. It's typically powered by one or more deep-cycle batteries.
- 120-Volt AC System: This is the system used when you're plugged into shore power at a campsite or RV park. It powers high-voltage appliances like the air conditioner, microwave, and outlets.
Knowing which system powers which appliances will help you isolate the issue when something goes wrong.
Tools You'll Need for Diagnosing Electrical Problems:
Before you begin, make sure you have the following tools on hand:
- Multimeter (for measuring voltage, current, and resistance)
- Voltage Tester (for quickly checking power at outlets)
- Wire Strippers/Cutters
- Crimping Tool
- Electrical Tape
- Screwdrivers (flathead and Phillips)
- Flashlight or Headlamp
- Circuit Tester (for checking fuses and breakers)
- Battery Hydrometer (for testing lead-acid batteries)
Having these tools ready will make the troubleshooting process much smoother.
Step 1: Safety First – Disconnect the Power
Electrical repairs can be dangerous, so safety should always come first. Before you start diagnosing or fixing any electrical problems, follow these safety precautions:
- Disconnect the Battery: Remove the negative terminal from your camper’s 12-volt battery.
- Unplug from Shore Power: If you're connected to an external power source, unplug it.
- Wear Rubber-Soled Shoes: This can help reduce the risk of electrical shock.
- Use Insulated Tools: This will protect you from accidental electrical contact.
Step 2: Check the Battery and Connections
Many electrical problems in classic campers are related to the battery and its connections. Here’s how to diagnose battery-related issues:
1. Inspect the Battery Terminals
- Check for corrosion on the battery terminals. Corroded terminals can lead to poor electrical connections.
- Clean the terminals using a mixture of baking soda and water, and a wire brush.
2. Test the Battery Voltage
- Use a multimeter to check the battery voltage. A fully charged 12-volt battery should read between 12.6 and 12.8 volts.
- If the voltage is below 12.4 volts, your battery may be undercharged or nearing the end of its life.
3. Load Test the Battery
- To determine if your battery can hold a charge, you can perform a load test using a battery load tester.
- If the battery fails the load test, consider replacing it.
Step 3: Inspect the Fuses and Circuit Breakers
Fuses and circuit breakers are designed to protect your camper’s electrical system from overloading. If something suddenly stops working, a blown fuse or tripped breaker may be the culprit.
1. Check the Fuse Panel
- Locate your camper’s fuse panel (usually found near the power converter).
- Inspect each fuse for signs of damage or burning. If you find a blown fuse, replace it with one of the same amperage.
2. Test Circuit Breakers
- Reset any tripped circuit breakers by flipping them off and then back on.
- Use a multimeter to test if the breakers are still functional. A faulty breaker may need replacement.
Step 4: Troubleshoot the 12-Volt DC System
If your 12-volt appliances, like interior lights or fans, aren't working, follow these troubleshooting steps:
1. Test for Power at the Appliances
- Use a multimeter to check for voltage at the appliance’s terminals.
- If there’s no voltage, trace the wires back to the fuse panel to see if there’s a break in the circuit.
2. Inspect Wiring for Damage
- Check for frayed, loose, or burnt wires, especially near high-heat areas like the engine compartment.
- Repair or replace any damaged wiring using the correct gauge wire.
3. Examine Switches and Connectors
- Faulty switches and connectors can also cause electrical issues.
- Use a multimeter to test continuity through switches and connectors. Replace any that are defective.
Step 5: Troubleshoot the 120-Volt AC System
If you're having issues with the 120-volt system (e.g., outlets not working, no power to appliances), here's how to diagnose the problem:
1. Test Shore Power Connection
- Use a voltage tester to check if the shore power connection is delivering the correct voltage (usually around 120 volts AC).
- If there's no power, check the power source or try a different outlet.
2. Inspect the Power Converter
- The power converter transforms 120-volt AC power into 12-volt DC power. If it fails, your 12-volt system may stop working.
- Use a multimeter to test the output of the converter. If it’s not delivering 12 volts, consider replacing it.
3. Check the GFCI Outlets
- Ground Fault Circuit Interrupter (GFCI) outlets are designed to prevent electrical shock. If tripped, they will cut power to the entire circuit.
- Press the "reset" button on the GFCI outlet to restore power.
Step 6: Troubleshooting Specific Electrical Issues
Here are some common electrical problems you might encounter and how to diagnose them:
Issue 1: Interior Lights Not Working
- Check the light bulbs to see if they are burnt out.
- Test for voltage at the light fixture. If there’s no voltage, check the fuse panel.
- Inspect the light switch for continuity.
Issue 2: Water Pump Won't Turn On
- Test the water pump switch and wiring for continuity.
- Check for power at the water pump terminals using a multimeter.
- If there’s power but the pump isn’t working, it may need replacement.
Issue 3: Refrigerator Not Cooling
- Ensure the fridge is set to the correct power source (electric or propane).
- Test for voltage at the refrigerator’s power input.
- Check the condition of the fridge's power cord and connections.
Issue 4: Battery Draining Quickly
- Test for a parasitic draw by disconnecting the negative battery terminal and using a multimeter to measure current flow between the terminal and cable.
- If the draw is significant (over 50mA), start unplugging fuses one by one to identify the circuit causing the drain.
Step 7: Regular Maintenance Tips to Prevent Electrical Issues
Preventative maintenance can go a long way in avoiding electrical problems in your classic camper. Here are some tips:
- Inspect Wiring Annually: Check all visible wiring for signs of wear, corrosion, or damage.
- Clean Battery Terminals: Clean and tighten battery terminals regularly to ensure a solid connection.
- Use a Battery Tender: When storing your camper, use a battery tender to keep the battery charged without overcharging it.
- Check for Moisture: Moisture can lead to corrosion and electrical shorts. Ensure your camper is well-sealed to prevent water ingress.
- Test GFCI Outlets Monthly: Press the test and reset buttons on GFCI outlets to ensure they're functioning correctly.
Conclusion:
Diagnosing electrical issues in your classic camper can be challenging, but it's a crucial part of ensuring a safe and enjoyable travel experience. By understanding the basics of your camper’s electrical system—both the 12-volt DC and 120-volt AC components—you can quickly identify and resolve common problems. Start by checking your battery health, inspecting fuses, testing circuit breakers, and examining wiring for damage. Proper use of diagnostic tools like a multimeter, voltage tester, and circuit tester can help you pinpoint issues more accurately.
Regular maintenance is key to preventing electrical problems in your camper. This includes cleaning battery terminals, checking for moisture that could lead to corrosion, and testing switches and outlets. If you find your classic camper’s electrical issues too complex to handle on your own, consider seeking professional help. For those located in Michigan, specialized services like Classic Camper Repair Michigan can provide expert assistance in restoring your vintage camper’s electrical systems. These professionals have the experience needed to tackle unique challenges that come with older models, ensuring your camper is ready for the road.
Taking the time to diagnose and repair electrical issues not only enhances the longevity of your classic camper but also ensures that your road trips are free from unexpected breakdowns. Whether you're a DIY enthusiast or prefer professional support, maintaining a well-functioning electrical system is essential. By staying proactive with repairs and upkeep, you can enjoy many more adventures in your beloved classic camper.
Remember, a little preventive care goes a long way in avoiding costly repairs down the line. So, whether you’re troubleshooting on your own or seeking out Classic Camper Repair Michigan, keeping your camper’s electrical system in top shape will make every journey a memorable one.