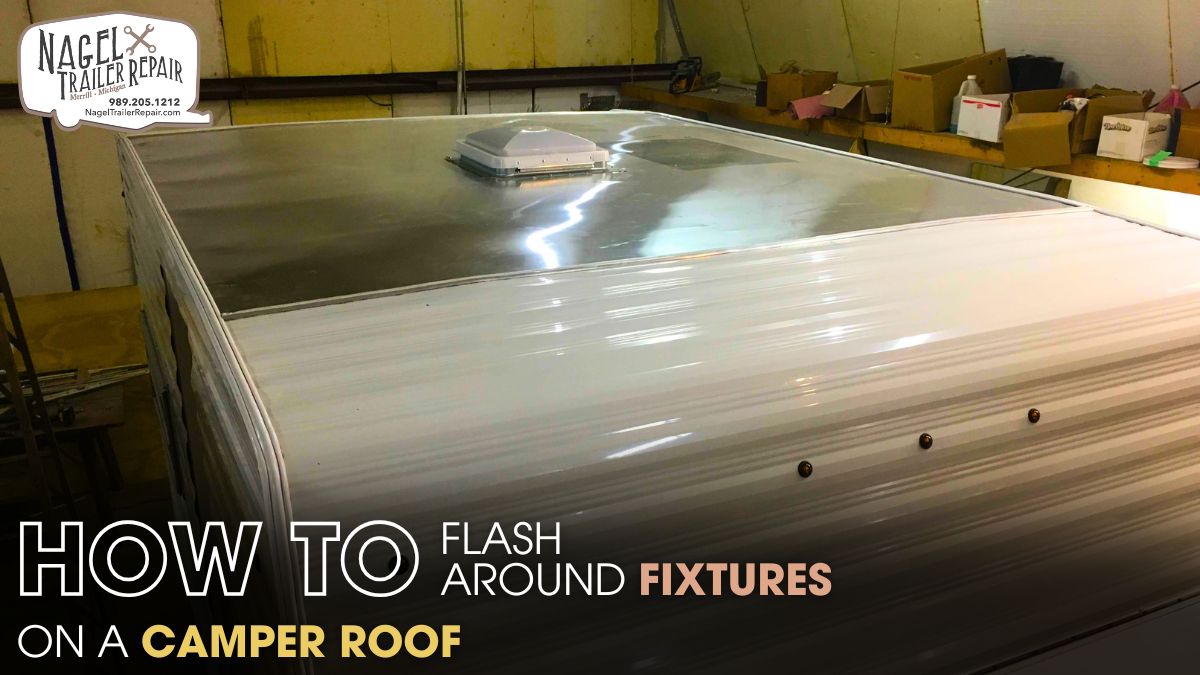
Flashing around fixtures on a camper roof is one of the most critical maintenance tasks RV owners face. When done properly, it prevents water intrusion, structural rot, mold growth, and expensive repairs. Improper or neglected flashing allows rain to seep through gaps, eventually compromising the integrity of your RV’s roof system. Whether you’re working on vent pipes, skylights, antennas, or air conditioners, understanding how to properly flash around fixtures can extend the life of your camper significantly.
Camper roofs—especially those exposed to Michigan’s extreme seasonal variations—face freeze-thaw cycles, UV degradation, and heavy moisture loads. If you’re dealing with leaks or looking to upgrade an older RV, mastering the process of flashing is essential. It’s a hands-on task that requires patience, the right materials, and precision—but it’s entirely achievable for a skilled DIYer or technician.
Understanding the Importance of Proper Flashing:
Fixtures like vents, skylights, and AC units interrupt the smooth surface of your camper roof. These points become the most vulnerable when it comes to water entry. Water does not need a wide gap to get into your camper. Even a hairline crack between the roof and a vent flange can invite moisture that leads to significant damage over time.
Flashing acts as a water diversion system, guiding water away from seams and openings. It forms a waterproof barrier between the roof membrane and the fixture base. In traditional residential construction, flashing is often made of metal, but on camper roofs, the most common flashing materials include butyl tape, lap sealants, and flexible rubber-based membranes. These materials are selected for their compatibility with EPDM, TPO, or fiberglass roofing commonly found on campers.
Before applying new flashing, inspect the existing material for signs of deterioration. Look for hardened, cracked, or loose sealant. Check the edges of all roof fixtures for evidence of water pooling or discoloration. Any soft spots near the fixture base suggest long-term water damage that must be addressed before new flashing is installed. These signs are especially common in humid environments or in regions like Michigan, where campers experience both heavy rains and cold winters—further highlighting the value of professional-grade Camper Roof Sealing Michigan services.
Step-by-Step Flashing Technique:
Begin by removing any old or failing sealant around the fixture. Use a plastic putty knife or sealant remover tool to avoid damaging the roofing membrane. Work carefully around the base of the fixture, ensuring that all remnants of degraded sealant are removed. Once cleaned, wipe the area with a solvent recommended by your roof manufacturer to eliminate any residues or oils.
Next, apply butyl tape around the base of the fixture. Butyl tape provides an initial waterproof bond and helps prevent future leaks. Press the fixture firmly onto the tape to ensure full contact with the roof surface. Follow this by applying a generous bead of self-leveling lap sealant over the seam where the fixture meets the roof. Self-leveling sealants are ideal for horizontal surfaces and ensure even coverage. Use a sealant specifically designed for the type of roof material on your camper—EPDM, TPO, or fiberglass—to avoid adhesion issues.
Allow the sealant to cure fully according to the manufacturer’s instructions, usually between 24 and 48 hours. During this period, avoid moving or stressing the fixture. Once cured, inspect the sealant for any gaps or bubbles. Apply additional sealant where necessary. Check for complete coverage especially at the corners and edges. In a region like Michigan where sudden weather changes are frequent, the added protection offered by professional Camper Roof Sealing Michigan techniques becomes even more important.
Preventative Maintenance and Annual Inspections:
Once you’ve flashed your fixtures correctly, the job doesn’t end there. Annual roof inspections are vital to maintaining a leak-free camper roof. Seasonal changes, UV exposure, and vibrations from driving can cause sealants to degrade over time. Make it a routine to check all roof fixtures at least once per year and after any significant storm or road trip.
Look for areas where the sealant has pulled away, cracked, or changed color. These are early indicators that the flashing is beginning to fail. Catching these issues early can save you thousands in structural repairs. For added protection, consider applying a roof sealant coating every two to three years. This adds a new waterproof layer over the entire roof and reinforces your fixture flashing.
In colder states like Michigan, campers often go through freeze-thaw cycles that stress every seal on the roof. The expansion and contraction of materials can cause microscopic gaps to form. That’s why many local RV professionals emphasize the importance of seasonal Camper Roof Sealing Michigan services. These ensure that all flashings and seals are reinforced before the harsh winter or humid summer sets in.
When to Call in the Pros?
While many camper owners take pride in DIY maintenance, some situations call for professional help. If you notice signs of water damage inside your RV—like soft ceilings, bubbling wallpaper, or moldy smells—these could indicate that flashing has failed and water has been intruding for some time. In these cases, simply applying sealant is not enough. You may need to remove fixtures entirely, repair underlying structural damage, and then reinstall the fixture with new flashing.
Additionally, if you’re unsure of your camper roof material or the compatibility of certain sealants, consult with a certified RV technician. Using the wrong type of sealant can void your roof warranty or even worsen the problem. Companies that specialize in Camper Roof Sealing Michigan have the expertise and tools needed to diagnose roof issues correctly and apply long-lasting solutions that hold up in all weather conditions.
The Role of Professional Maintenance:
Keeping your camper roof in top condition requires more than just the occasional glance. Water damage usually starts at fixtures like vents, skylights, and AC units—places where the roof membrane is interrupted. Flashing around these areas is essential to prevent leaks. To do it right, you need to remove old, cracked sealant and thoroughly clean the area. Butyl tape goes down first to form a strong seal, then self-leveling lap sealant is applied over the joint to ensure a watertight finish. Skipping any step or using the wrong material can lead to costly issues down the line.
Equally important is a detailed roof inspection. You can’t always see leaks from the inside, so it’s necessary to get on the roof and look closely at seams, edges, and around every fixture. Press gently for soft spots, check for discoloration or bubbling, and don’t ignore tiny cracks—they often lead to big problems. Look closely around corners, under vents, and near the front and rear caps where water tends to collect. When done thoroughly and paired with proper flashing, these inspections help you catch trouble early and extend the life of your camper roof.
Conclusion:
Proper flashing around camper roof fixtures is not just a one-time repair task—it’s a preventative strategy that ensures long-term protection against leaks, rot, and costly interior damage. Whether you're sealing around a skylight, vent pipe, or satellite dish, precision and the right materials matter. Removing deteriorated sealants, applying fresh butyl tape, and using self-leveling compounds all contribute to a watertight seal that can stand up to road vibration and environmental stress. In climates like Michigan’s, where the weather can shift drastically between seasons, reinforcing your camper roof is not optional—it’s essential.
Many RV owners rely on trusted Camper Roof Sealing Michigan services to maintain the integrity of their vehicles through snow, rain, and summer heat. Regular inspections, quality materials, and skilled application are the key pillars of effective flashing. Whether you’re a DIY enthusiast or hiring a professional, prioritizing roof fixture flashing today can save your camper from significant headaches tomorrow. The cost of ignoring flashing failures can be steep, but the investment in doing it right pays off in durability, peace of mind, and the freedom to enjoy your travels with confidence.